
A dear friend of mine wanted to attend a LARP event set in the late 18th century, but she lacked the time and skills to make her entire outfit herself. So she asked if I could please help her out. Of course I could!
My friend already had a pattern for the gown that I could use: “The Aidah Gown” by Scroop & Virgil’s Fine Goods. She didn’t need me to embellish the dress with all sorts of decorative frills, as she wanted to be able to reuse the dress for multiple LARP events and adjust the level of decoration depending on the role. This is actually historically accurate: apparently, in those days such additions were indeed attached afterwards, rather than being permanently sewn into the outfit. As she also planned to make the petticoats herself, and already owned a corset, I thought it would be a relatively quick job. Which, of course, it turned out to be far from.
When I started working with the pattern, I discovered that the construction method described was historically accurate—and in such a way that the hand-stitching couldn’t simply be replaced by machine sewing. While that was easily done with the Victorian historical patterns I’d made in the past, attempting it with this 18th-century dress would have required a complete overhaul of the assembly order. To figure out an alternative approach, I first had to fully grasp how the garment was meant to be put together. It would have been quite tricky and prone to error, as the dress features a unique type of panel I hadn’t worked with before. For instance, the back panel is very narrow, whereas the front panel is extremely wide and wraps around to the sides. Furthermore, there is no shoulder seam; instead, a separate piece is sewn between the front and back panels to attach the sleeve. I was worried I’d get it wrong—meaning the machine-sewing attempt would ultimately take more time than simply stitching it by hand—so I decided to stick to the pattern and accept that the project would take far longer than planned. On the bright side: I enjoy hand-sewing much more than machine sewing, because I find it to be very relaxing. Plus, it was a great learning experience to see how clothes were made in that era, as this was the first 18th century outfit I ever made!
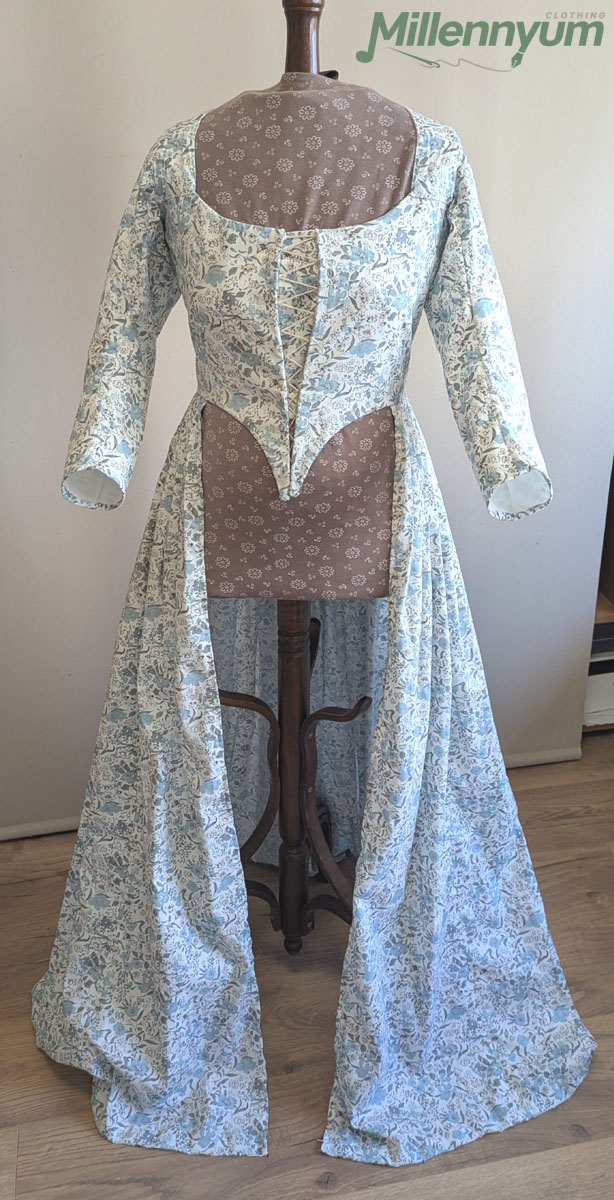
I did change the gown’s closure. The original design used hooks, or simply involved pinning the front shut. However, given that a corset can be tightened to varying degrees, it is difficult to create a bodice that always closes perfectly. So my friend asked me to build in some flexibility by opting for a lace-up closure, with a panel of fabric underneath to prevent the corset from showing through.
Here you can see the gown with its alternative lace-up closure (as my mannequin cannot wear a corset):
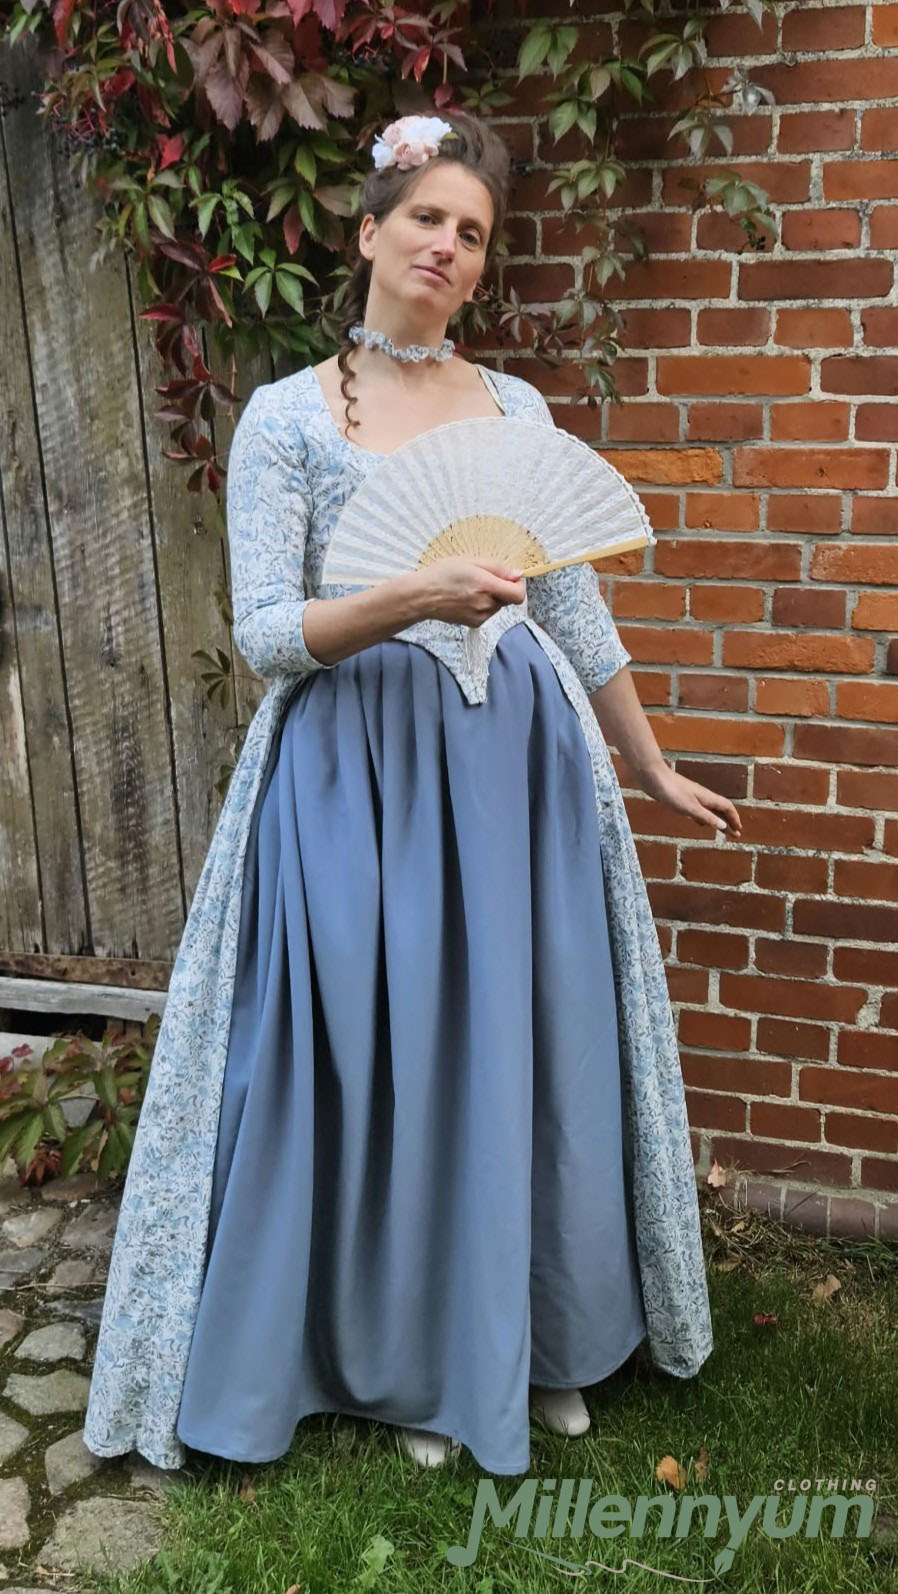
And here’s the complete outfit: the gown being worn over a corset, hip padding, and petticoat/underskirt (she made the blue skirt herself):
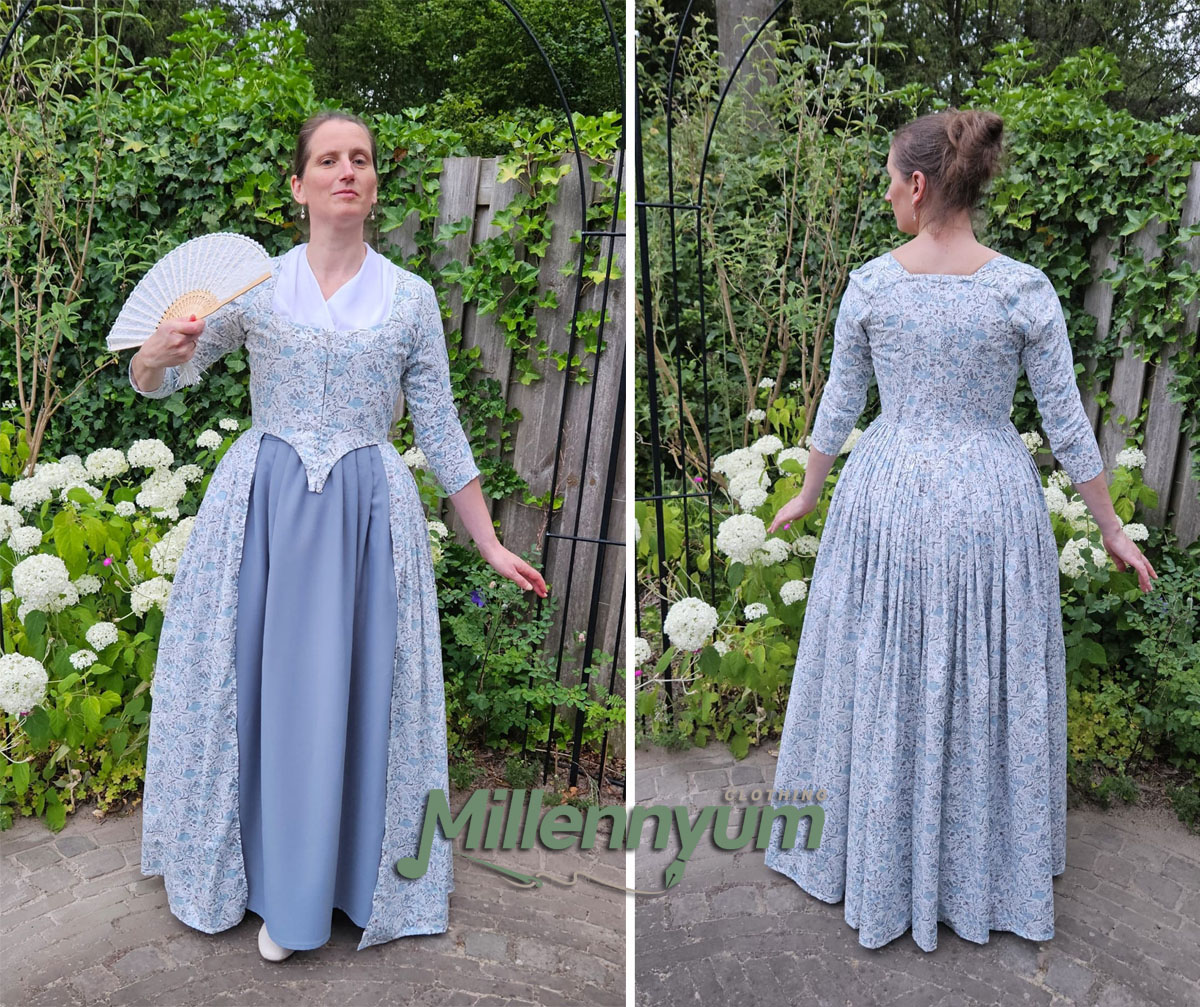
(Yes, that is a lot of pleating at the back…)
Time spent: 42 hours (Not including two fabric selection sessions and two fitting sessions, which we combined with a fun evening of catching up.)
Material costs: €20,50 (Just the boning, hooks & eyelets, sewing thread and some other small haberdashery. She bought the fabric online herself, I don’t know how much it was.)