
When visting my grandma-in-law, she showed me a handmade thingy that consisted of 8 cubes, decorated with 6 types of fabric. You could fold it together in several ways, causing a different type of fabric to end up on top each time. I was intrigued and decided to make one myself!
After doing a little research, I learned that the thing was called a ‘magic folding cube’ or a ‘Yoshimoto cube’. And I found an online tutorial by Wilma Karels that explained how it is put together.
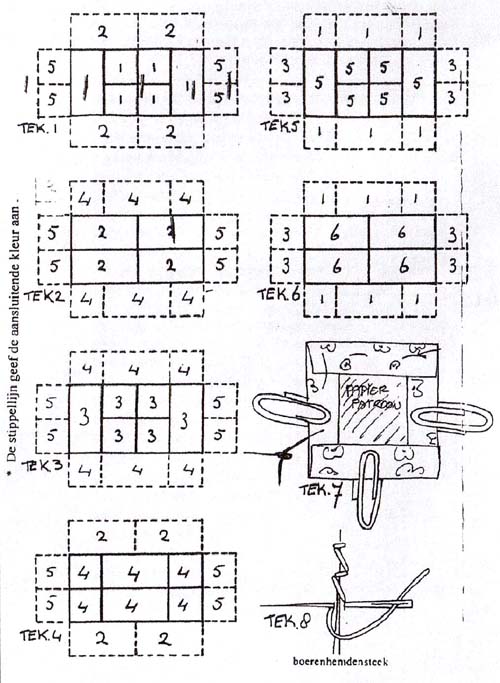
But I thought that making a magic folding cube with merely several pretty patterned fabrics was a bit boring. I wanted the sides to actually show something when correctly put together! Which is ofcourse exponentially more complex when it comes to arranging the pieces, but hey, I like tormenting myself a challenge!
Because the above pattern does not take into account that it matters which way the pieces of fabric are facing, I made a proof of concept from dice, paper and tape so I could see how the various sides relate to one another depending on the folding state (since some faces may end up positioned upside down against others – something not apparent in the pattern above), and I mapped out the different possibilities:
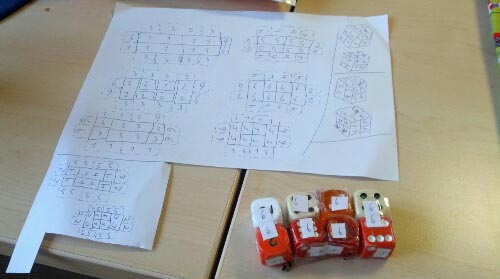
It turned out that the challenge wasn’t only in having sufficient spatial awareness, but also in finding fabrics that could be combined in fun ways. I had to settle for two ‘normally’ patterned fabrics (with flags and birds), alongside the four fabrics that would create ‘pictures’.
I then faced the following challenge: cutting the fabric. No, it’s NOT just a matter of cutting 6 rectangles and subsequently cutting them neatly into 8 squares! If you do that, you won’t have any seam allowance, which you’ll need to attach the pieces to eachother. Meaning you’ll need a length of fabric on which the desired pattern occurs enough times, and you’ll need to cut the pieces from exactly the right spot, otherwise they won’t connect properly with the fabric on the other cubes.
As an example: if you need 4 small rectangles to create one big rectangle, this is what you’ll need to cut:
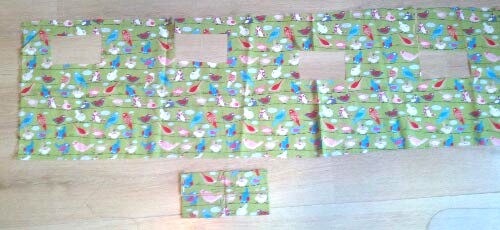
And it gets worse if you need 8 squares instead of 4 rectangles.
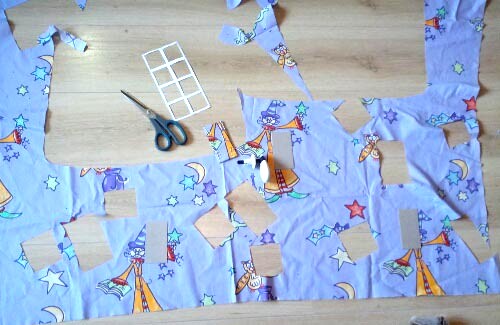
(And if you decide to use 4 different elements from one single type of fabric, this is what your fabric will look afterwards:)
After cutting the rectangles and squares, I stretched them across a piece of cardboard of (again, exactly) the right height and width. I temporarily fixated the edges with paperclips, so I could check if the elements properly connected. (Tip: if you do this immediately after cutting one piece from the fabric, you can use it to measure where to cut your next piece.)
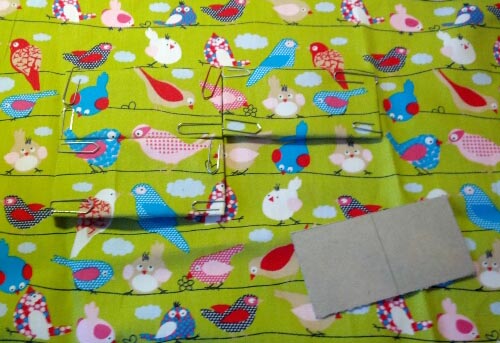
The next step is to baste the seam allowances together. You can now remove the paperclips and iron the edges.
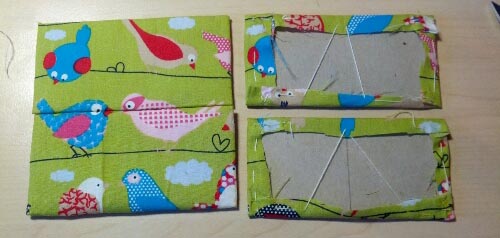
Remove the piece of cardboard and iron again. This way, the fold will stay in properly.
Now you can place the fabric pieces onto the cubes. I used foam cubes measuring 5 x 5 cm that I bought from a craft store. (I would advise against cutting them yourself from a big foam block, because, again, the cubes need to be exactly the right size.)
You can use pins to make the fabric stay on the blocks:
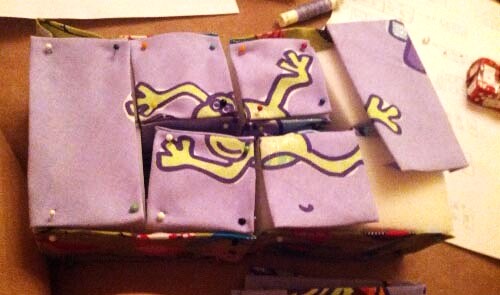
The final step is to manually stitch all pieces together. I had underestimated the time this would cost. But 8 cubes times 12 edges = quite a lot of edges to sew…
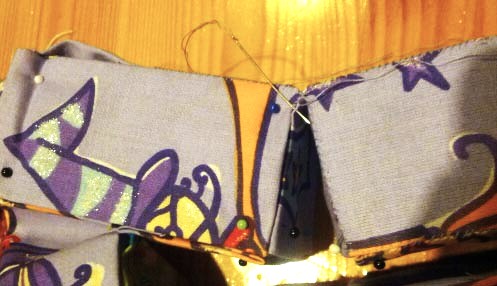
But eventually everything was attached and I got myself an actual working magic folding cube!
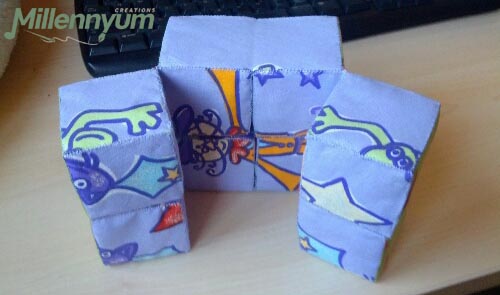
This is what you can create by folding it in different ways:
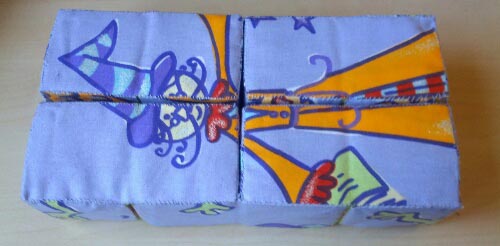
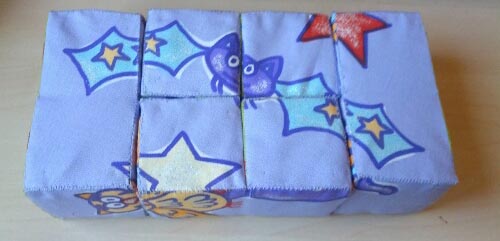
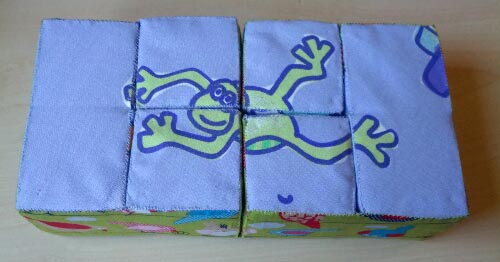
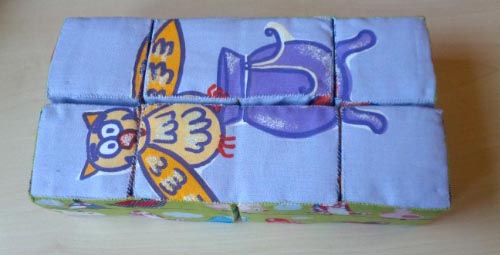
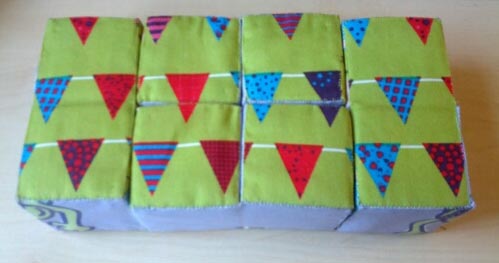
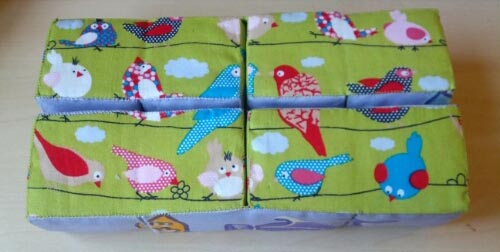
Also, the line with flags continues into the line with birds:
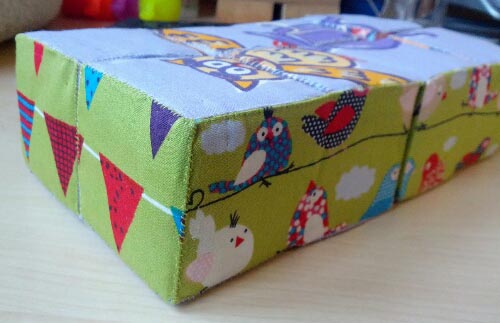
And the bat and frog (somewhat) form a monstrous creature together, which was actually accidental instead of planned!
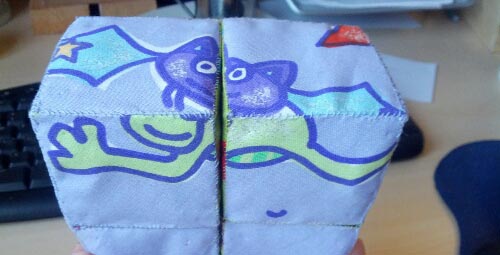
Despite my efforts to be precise, there are still parts that don’t perfectly line up. But it turned out better than I feared it would. And I definitely proved that there’s nothing wrong with my spacial awareness! (Although, admittedly, my brain hurts a bit now…)