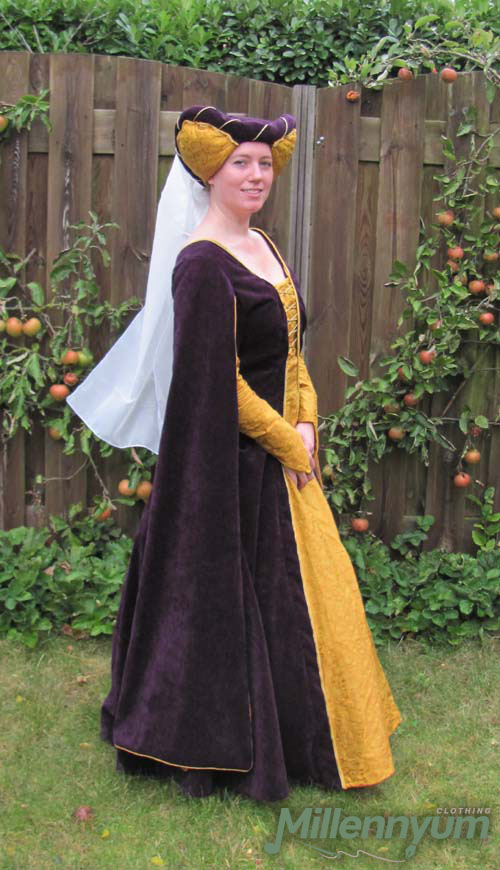
Now that I have started doing reenactment, the damsel dresses I sew for my LARP character are increasingly leaning toward authentic medieval designs, rather than being merely loosely based on them. They are still made from modern fabrics, though – it’s LARP, after all. For my character’s wedding I decided to sew a houppelande.
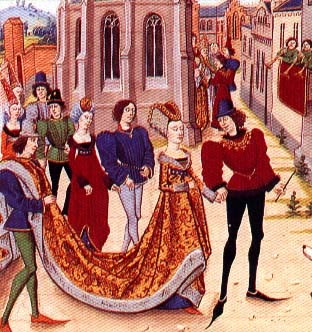
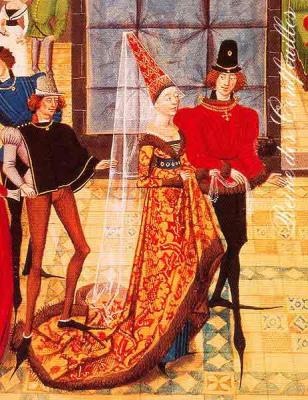
My source of inspiration was an image of the Burgundian-style gown of Clarice de Gasconne (1468) and a variation upon it:
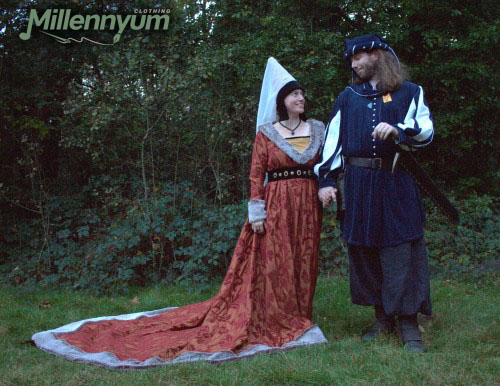
This is my version of it:
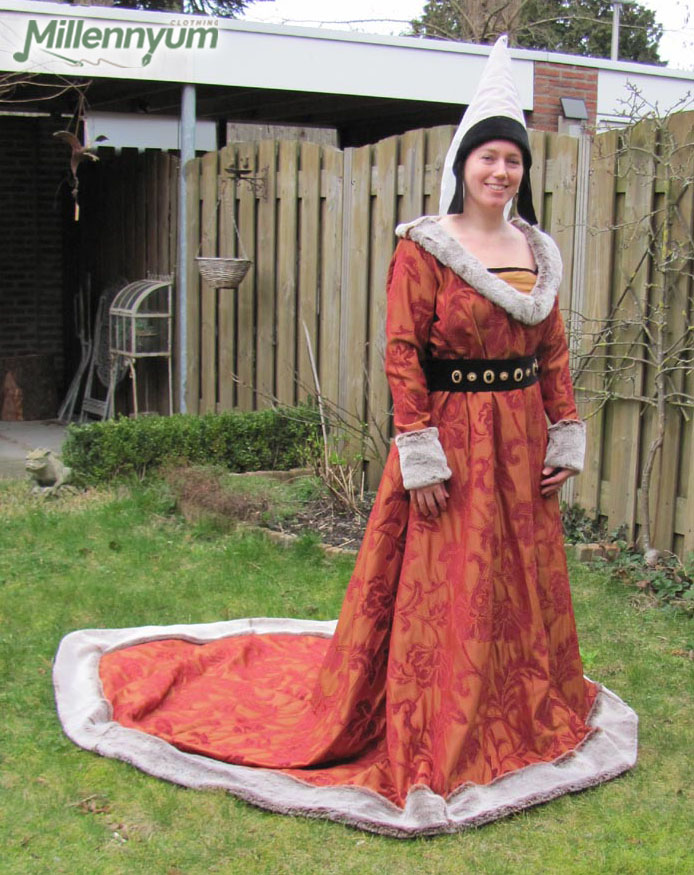
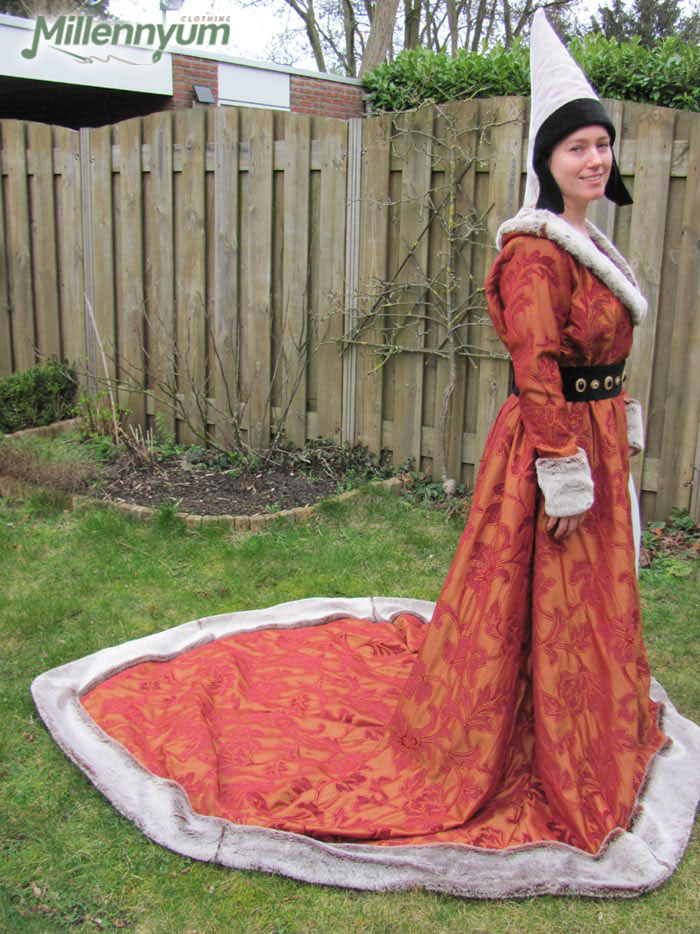
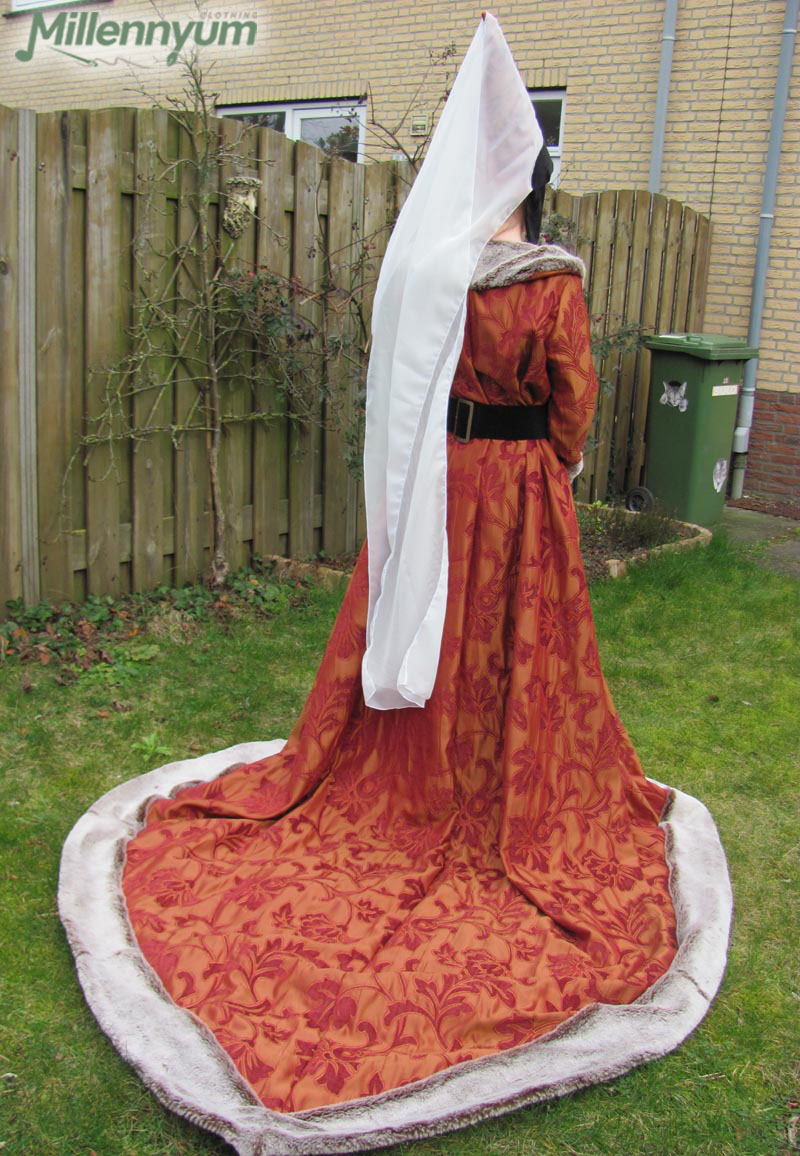
It’s super inconvenient to wear at a LARP event, ofcourse, but it gives my character a good excuse to have a minion trailing along behind her all the time to hold the fabric. 😉
Unfortunately, there is no way I can achieve the same slender silhouette shown in the images using this double-layered curtain fabric. I assume the dresses from that era were made of thin silk. With this incredibly heavy fabric, all those folds end up making me look at least two times as wide as I really am…
In the photos, my belt is also sitting a bit too low; it should be positioned higher, just below the bust, so that it almost touches the fur collar.
I could have made the train with a continuous, rounded edge, but this pointed shape emerged from the first version of the pattern I drafted freehand. And, honestly, I quite like it – it complements the pointed style of the hat!
It looks like a whole lot, but this actually was a (relatively) inexpensive and quick-to-make dress. I suspect it might even be the costume that took the least amount of time to create out of all the damsel-style dresses I’ve made so far, because it’s little more than sewing four large panels of fabric together, attaching sleeves, and adding fur trim. The garment doesn’t need to fit your body precisely at all; it’s essentially a voluminous, flowing gown that flares out from the armpits. As a result, there’s no need for a closure: you simply pull it on over your head. The length at the bottom doesn’t need to be exact, either, as long as it pools a bit on the floor. The belt is the crucial element here: it creates a waist, thereby shaping the garment, and causes it to drape into beautiful folds.
Oh, and I did not line it, either. It’s already heavy enough as it is!
For my previous damsel dress, I invested a great deal of time in details and ornamentation. But because this fabric is already so detailed on its own, that wasn’t necessary here. The fur trim adds an extra touch of luxury, too.
It just goes to show what a difference the right choice of fabric can make for an outfit.
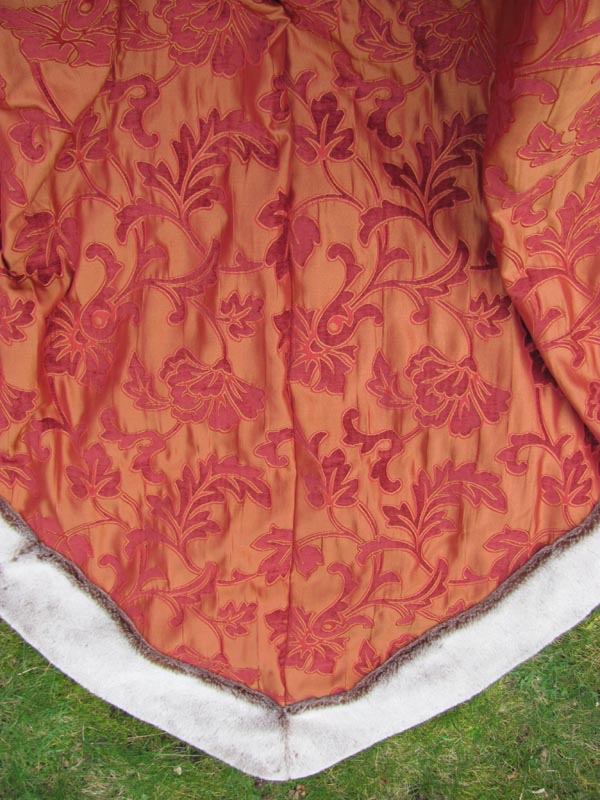
A close-up of the fabric. Take note of how the pattern continues seamlessly, even across the center seam. 😎
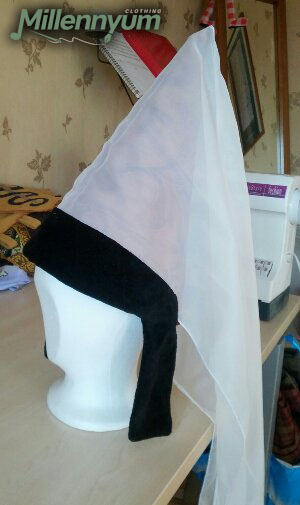
The base of the hat is a piece of vinyl flooring that I taped together using wide adhesive tape. Then, I simply sewed the fabric around it.
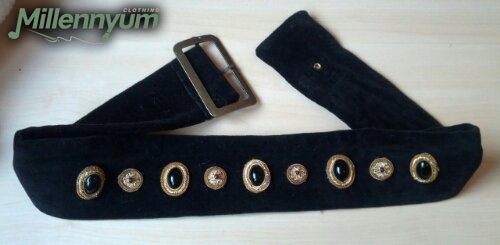
I made the belt from a piece of velour folded in two and reinforced with interfacing. I found the decorations at a fabric market and I simply glued them onto the fabric using textile glue.
Time spent: 27 hours for the dress (part of it was spent hand-stitching the faux fur to the inside) and 5 hours for the hat.
Costs: about €70 (6 metres of fabric for somewhere between €5 and €8 per meter, €8 for the faux fur, €16 for the belt decorations and buckle. The white organza, gold fabric at the neckline and the black velours are remnants I still had lying around.)
I ended up wearing the outfit for only 4 hours during the LARP event, but it was well worth the effort!
(You can also read more on my blog about how I made the blue outfit of my fellow player!)
Related Posts