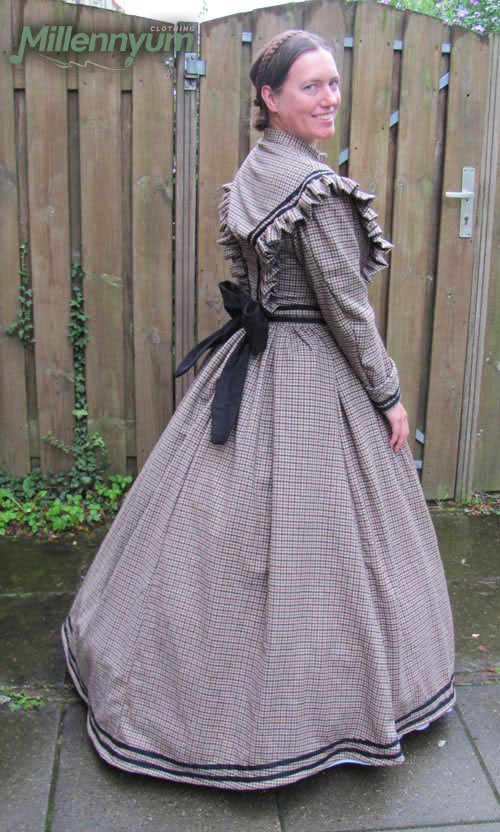
Damn you, Pinterest! Just when I’m researching Victorian dresses, you show me Victorian travel bags as well. And I could really use a travel bag for my LARP character, who is on a world tour. So ofcourse now I HAVE to make one of those as well. *sigh*
Here are some original Victorian travel bags that have been preserved, that I used as examples:
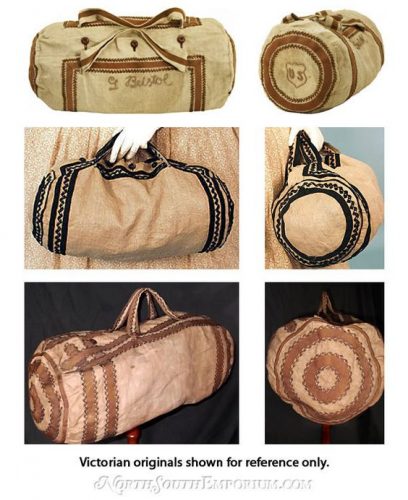

Luckily, these kinds of bags are very easy to make. It’s just a matter of cutting out two circles and stitching them to a rectangle. And stitching some ribbon on it, because looks matter too. And of course, embroidery, because how cool is it to have your character’s initials on it?? And while you’re at it, embroider between the ribbons as well, because the devil is in the details. And just like that, three evenings have passed. *another sigh*
But hey, now I do have a super cool travel bag based on an authentic model!


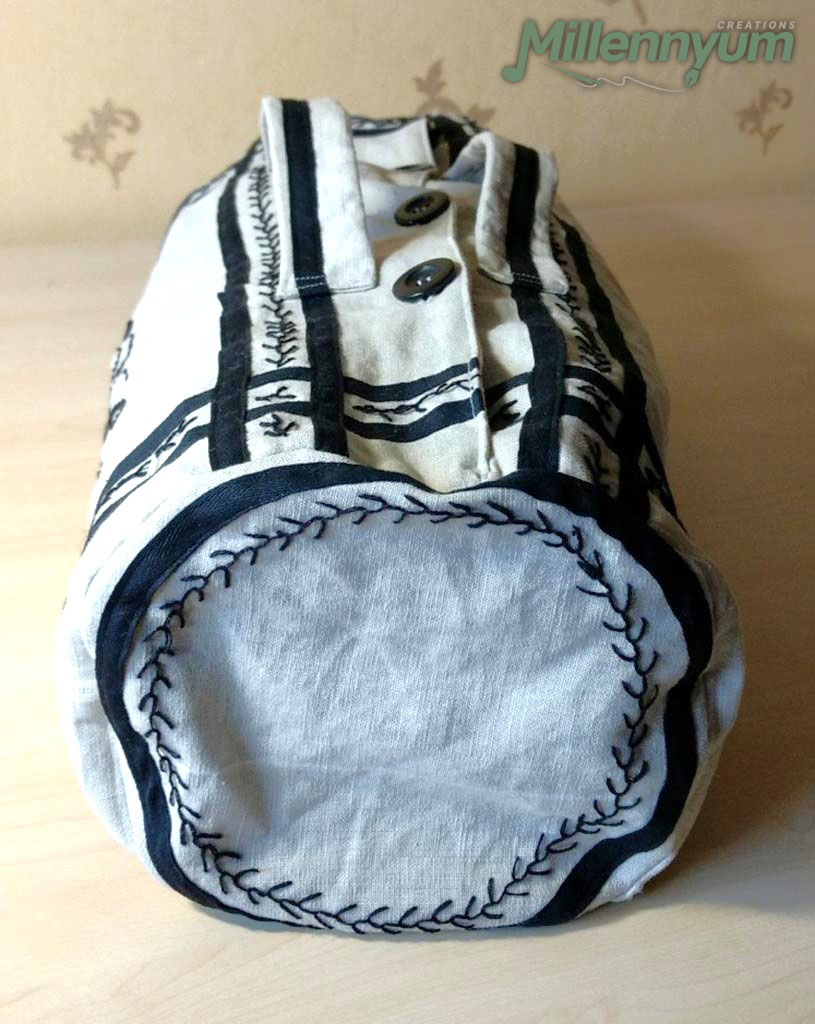
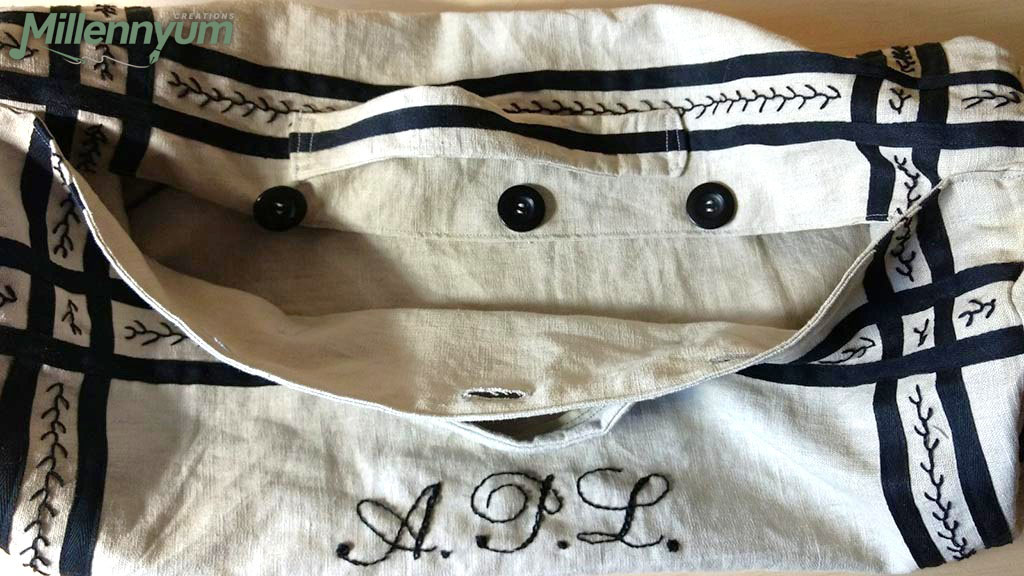
The black cotton ribbon was a left-over from the wool travel dress I made for the character, so now the bag matches her outfit as well!
I didn’t dare make a second, smaller circle on the sides. Since my ribbon wasn’t cut on the bias, I already had enough trouble making the large circle neat without bumps and creases.
I need to replace the buttons eventually, because I only had plastic junk at home, whereas they are actually supposed to be made of glass, metal or fabric.
And actually, the lining should have been a fancy cotton, but I didn’t have anything suitable at home for that either. Instead, I lined the bag with the same fabric as the outside: grey linen. Also in the hope that it would make the bag a bit sturdier. For I suspect that the linen used by Victorian ladies was somewhat stiffer and sturdier than the stuff still lying in my closet, since I bought it with the idea of making clothes out of it. Or perhaps they used some type of interlining?
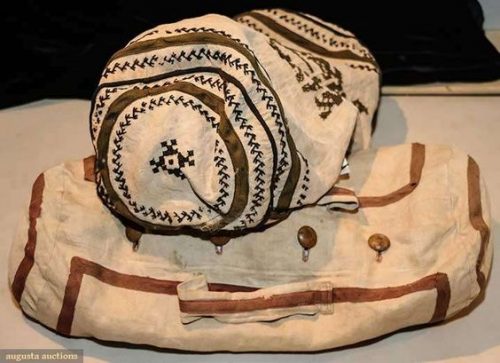
Nevertheless, I wonder if those bags all stayed upright on their own. I suspect that for the photos above, they were simply stuffed. After all, I also came across a photo where the bag has more or less collapsed:
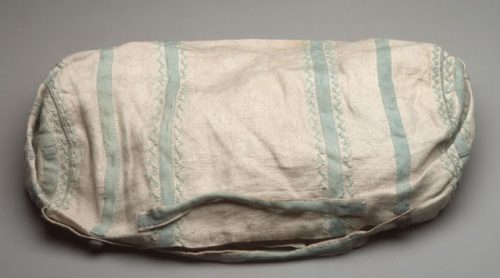
This way, it already looks a lot more like mine when it’s not filled:

Time spent: 11 hours and 15 minutes (Well over 6 hours for sewing everything together and sewing on all the decorations, 5 hours for the embroidery. I need to become faster at this…)
Costs: €0 (I used only scraps from my stash.)
Related Posts