I will be attending a Victorian LARP event that lasts for a week, so I cannot possibly wear the same outfit each day, can I? Therefore I just HAD to sew a summer dress to complement my 1860’s wardrobe. 😉
After some research, I learned that in the Victorian era, summer dresses were often made of ‘sheers’, or somewhat translucent cotton. It is a nice and airy fabric, even when you are quite covered up, and it drapes beautifully in folds. These types of fabrics were often entirely white, or featured a small pattern on a white background.
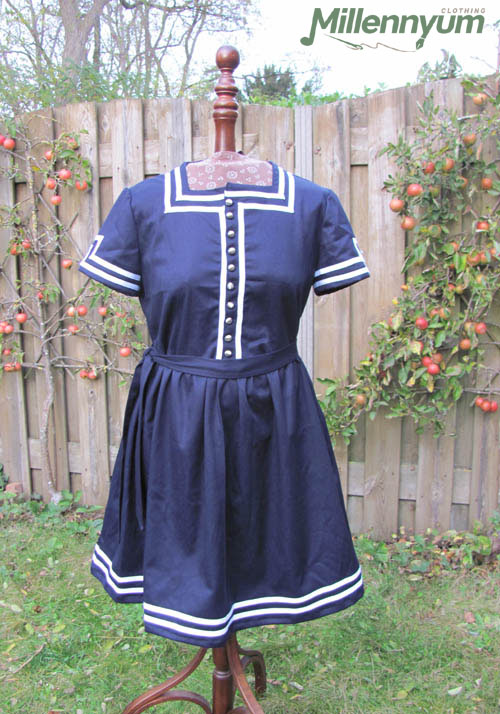
When I found the picture below, I knew for sure that this was what I wanted – what a beautiful design! And what a lovely fabric!

But it turned out to be practically impossible to find such a sheer fabric. I searched in several Dutch cities, but I found only two fabrics that came roughly close in terms of thickness and had a not-too-modern pattern, but there wasn’t nearly enough left of them to make both a skirt and a blouse. Meh.
Eventually, I found one on Etsy. I normally don’t buy fabric online because I want to be able to see and feel it. But these product photos were so clear, and I had so few alternatives, that I decided to take the plunge and had nearly 13 meters shipped all the way from South Korea to the Netherlands.
And I have no regrets! Because the fabric was exactly as I thought and hoped it would be! And miraculously enough, it hardly wrinkles at all. The only thing that went wrong is that the description stated the fabric was about 1,10 meters wide (a common size for the US; European fabrics are usually 1,50 meters wide). So I redrew all my pattern pieces so they would fit the fabric more efficiently. But when I wanted to start cutting the fabric, it turned out to be 1,50 meters after all… Meaning I had to adjust the pattern pieces *again* and ended up ordering (and paying for) a few meters too many. Oh well, better too much than too little fabric.
It is a shame that the flowers are pink, though. I would have preferred blue, like in my example. Pink isn’t really my color, and I don’t think it really suits my LARP character either. But it was this or nothing.
The pattern was also a challenge. Because, naturally, you can’t find a ready-made pattern for something like this anywhere. The TV401 blouse pattern came closest. Which I ultimately only used for the flared undersleeves, the shoulder seam (which sits slightly further back), and the double gathering method. Because the sleeves didn’t fit me at all. Victorian blouses don’t have the modern sleeve caps we know, and they somewhat restrict your freedom of movement. With my broad shoulders, I practically ripped out of them when I put my arms forward! So, after making two non-working mock-ups, I decided to throw a ‘f*ck it’ at it and put in a modern sleeve cap. It’s for LARP, so I need to be able to move!
I had made the third, working mockup for the bodice out of white cotton, because I still had it in stock and it is cheap stuff. In hindsight, that was handy, because (after removing the undersleeves) I could reuse it as a lining. That sheer cotton is very nice, but of course, people are not supposed to see your corset… (Lining was not required for the skirt though, because I’ll be wearing a white petticoat between the skirt and the hoop skirt.)
I myself drew the long layer that lies over the skirt, and is attached to the bodice, after first making a mock-up for it. Because everything gets heavily gathered, I found it very difficult to determine how it would ultimately drape.
The skirt pattern was simpler: for this, I could recycle my previously self-drawn pattern for another Victorian outfit, since I am going to wear the same hoop skirt underneath. The fact that I planned to gather it at the waistband this time instead of pleating it made no difference to the pattern. The only change was to make it a bit shorter and cut the strip for the ruffles at the hem separately.
All in all, I put quite a lot of time into the preparation phase. So I was happy when I could finally actually start sewing! Although… then I had to start gathering huge amounts of fabric. Two rows on top of each other, no less. Sigh… But at least I saw progress, even if it was slow.
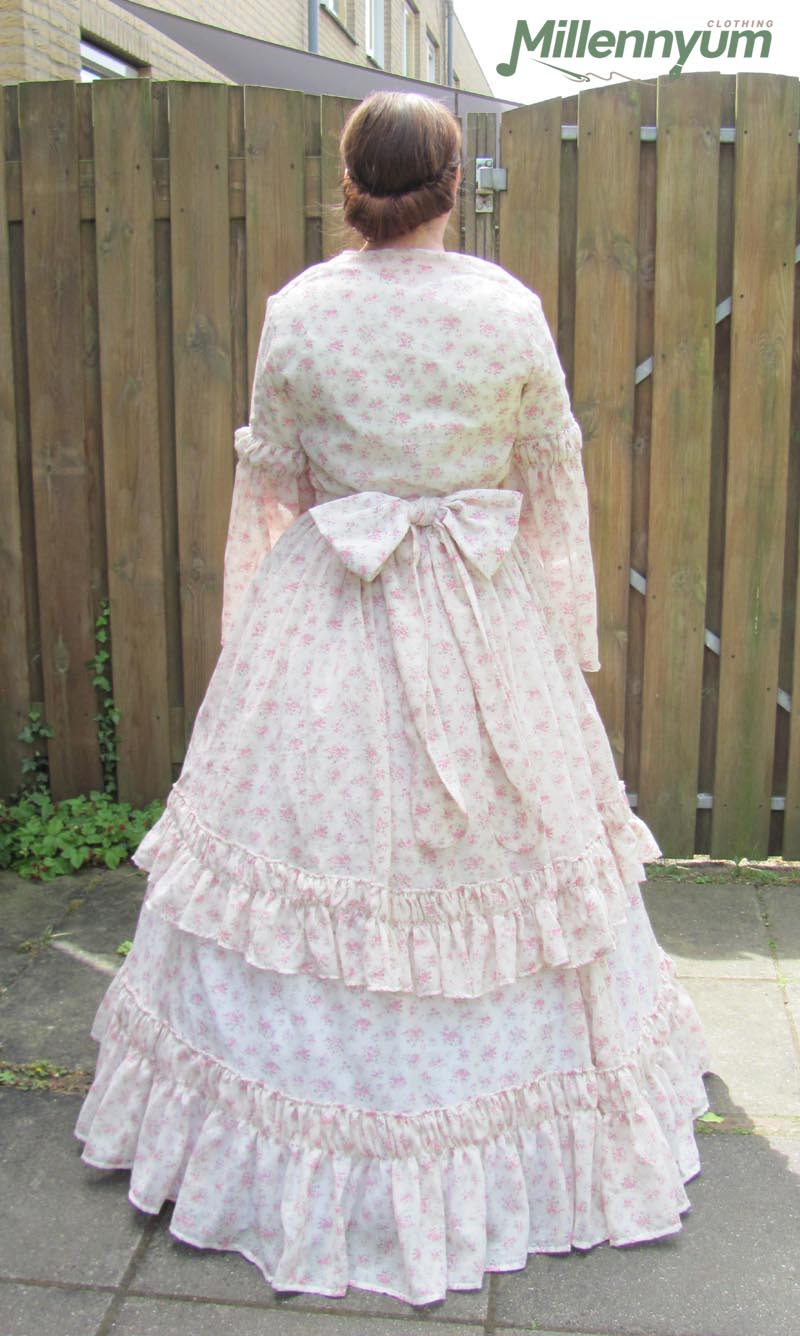
Because I thought the bow on my previous dress looked so nice, I wondered if I should put one on this one too. But when I tried on the first version of the dress and saw myself in the mirror, all I could think was: “OMG, SO MUCH PINK!!” And there were all these ruffles as well… it was getting a bit excessive! But my sewing classmates all shouted in unison: “With a bow!!” Okay, okay… If it’s going to be sickly sweet anyway, then indeed, it’s better to go all the way. 😏
This is how it turned out initially:
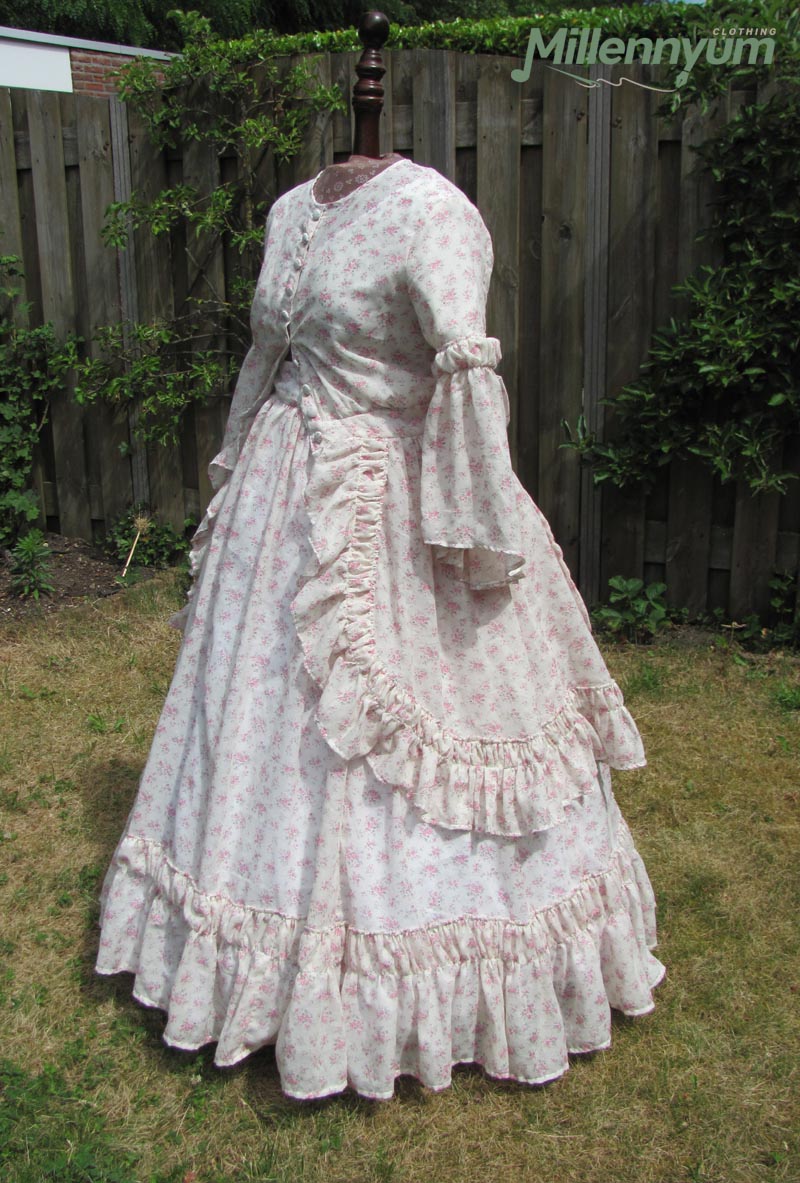
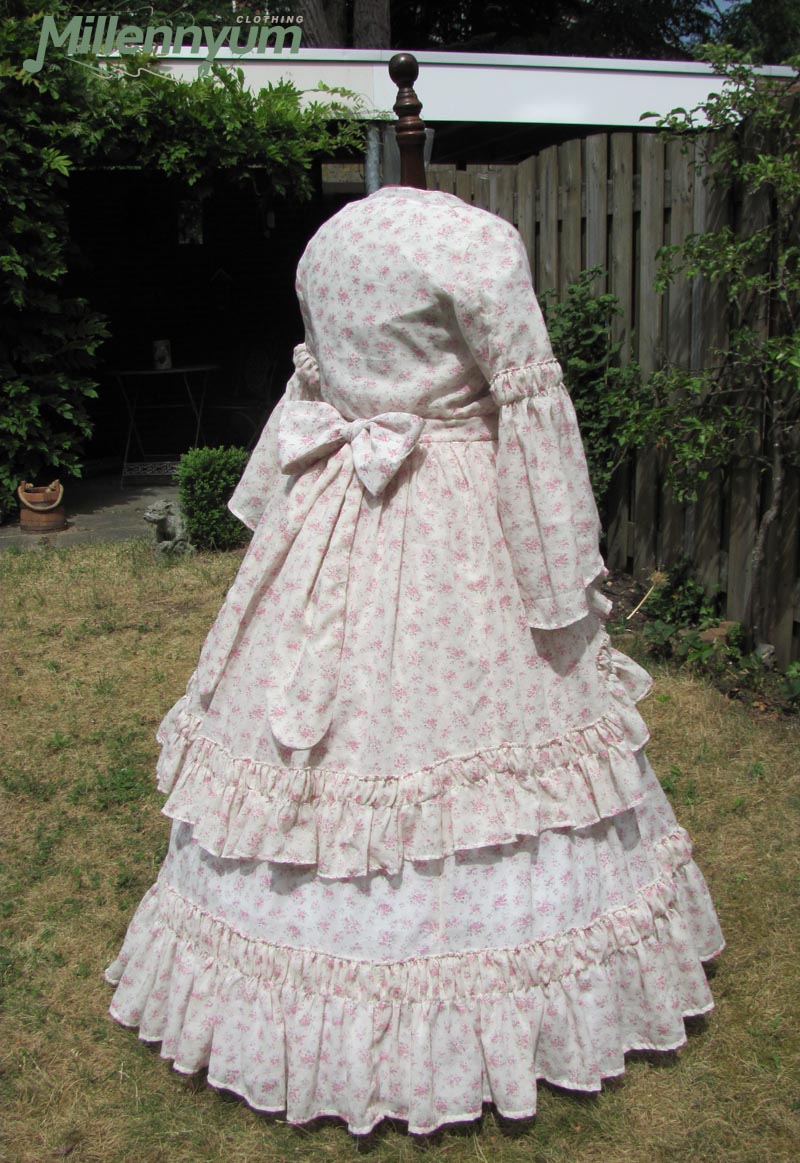
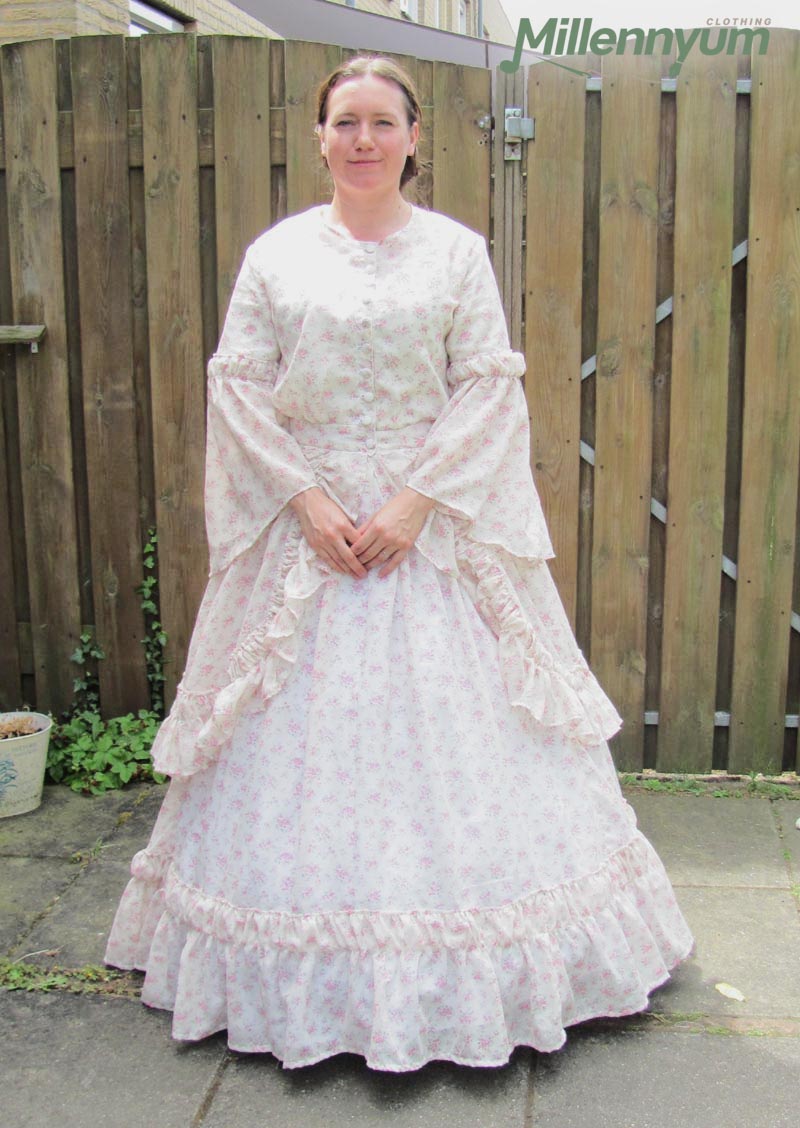
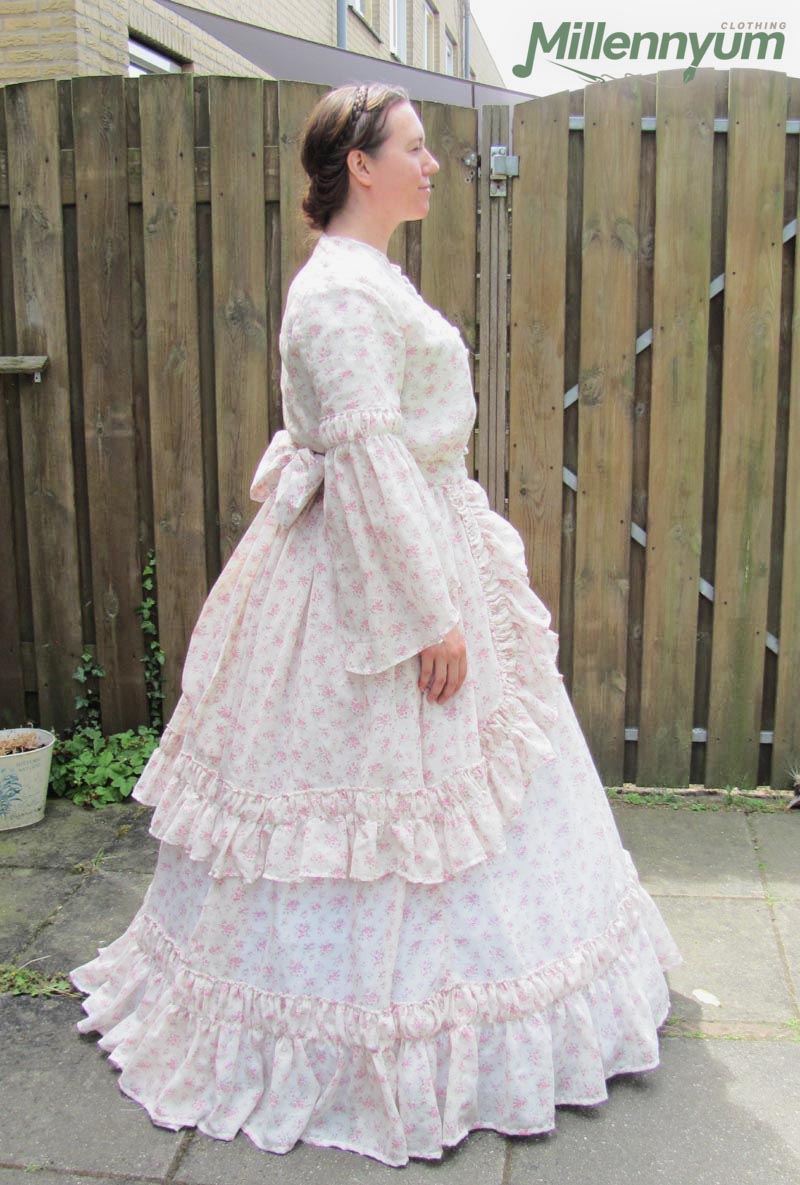
A difference between my dress and the one in my example image is that the latter has a low neckline, where the lining is the same height as the pattern fabric. I chose to have the pattern fabric extend higher than the lining, so that a bit of skin is still visible through it. I saw in other pictures that this was also common at the time.
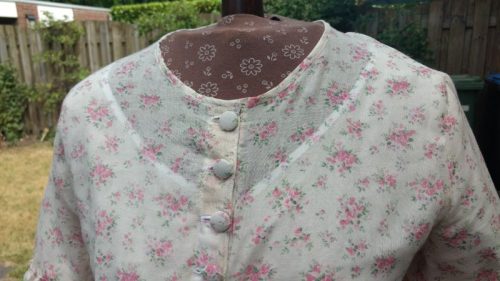
Both necklines are finished with bias binding (the white one is from the store, the one with flowers is self-made). I reinforced the small facing behind the closure that extends above the lining with a skin-colored piece of interfacing, for fear that the fabric might tear if tension is applied to the buttons and buttonholes.
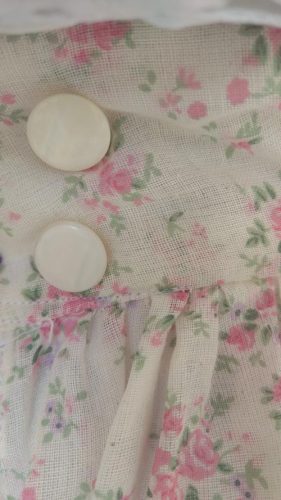
I made fabric buttons for the blouse so they match nicely. For the skirt closure, I found two somewhat similar mother-of-pearl buttons in a bin donated by a friend. They work very nicely with this fabric! It’s a pity you can’t see them when the blouse falls over them.
I couldn’t close the blouse at the front when I put it on the mannequin, because of course a corset won’t fit on my mannequin – therefore it looks a bit weird and wrinkled in the picture. This is also why I only found out after putting on the whole outfit for the first time, that there was a huge amount of too loose fabric at the front of the blouse. I made darts in the lining, but I only gathered the outer fabric. I thought that if I positioned most of the gathers at bust level, it would compensate. Apparently it didn’t. I don’t know how they managed to fit it so well in the original dress, as I cannot see any darts there.
So I had to unpick the whole thing again and fix it. I also made the waist of the skirt tighter, to prevent the hem from dropping on the floor at the back. And I took the opportunity to add ruffles to the hem of the sleeves, just like in the example dress. Initially, I had left them out because, firstly, I was completely done making all those ruffles, and secondly, I thought it looked nice as it was. But after I saw it in the photo’s, I thought it would in fact add value. An extra layer on top would probably also make them stand out a bit more nicely.
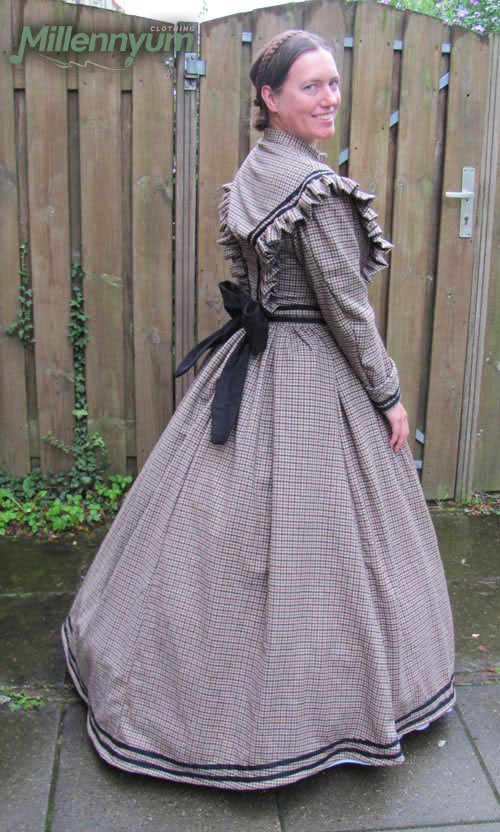
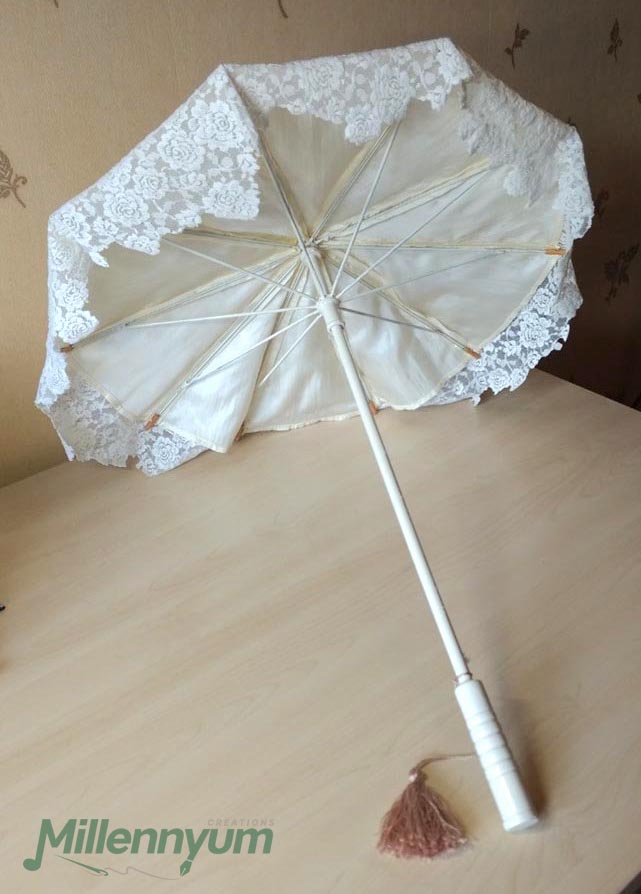
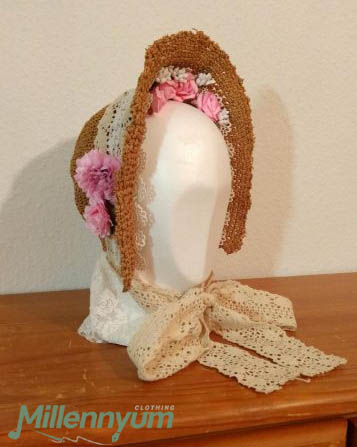
This is how the outfit looked at the LARP event, after I had fixed it and made a spoon bonnet and parasol to go along with it:

Time spent: 71 hours (Of which nearly 25 hours sketching the pattern, making mock-ups, and redrawing pattern pieces due to the wrong fabric width, and excluding the time it took to fix the blouse.)
Costs: €160 (€5,50 for the fabric buttons, €3,50 for the thread*, and the rest is for the 13 meters of fabric**. The lining and interfacing come from my stash, the mother-of-pearl buttons were a donation.)
* Normally I don’t count sewing thread, unless I had to buy it especially for the garment, but this costume contains at least half a kilometer of thread…
** Including a 20% quantity discount (negotiating pays off, even on Etsy!), well over €20 in shipping costs, and the 3 meters I bought too many – which eventually turned out to be 4,5 meters of fabric too many.
Related Posts