
I recently got married and tried to make our wedding day as personal as possible. As I find guestbooks boring and am a creative person, I decided to offer our guests an alternative: we gave them fabric squares to write on and optionally decorate, which I would sew into a quilt afterwards!
It was a lot of work, but definitely a success. Our guests very much enjoyed adorning the pieces (some people were working on it for an hour, and two of my aunts took theirs home to make them really pretty) and the quilt turned out to be lovely!
It was the very first quilt I ever made so I probably didn’t do everything by the book, but I still want to share with you how it was done.
Step 1: Shop!
It can be a challenge to find suitable fabric. Try to find non-stretchy fabric of the same material and weight (for example, a light-weight cotton), as it will be easier to sew into even pieces. Light, monochrome and patternless fabrics will be best, as it will provide the best basis for readable messages.
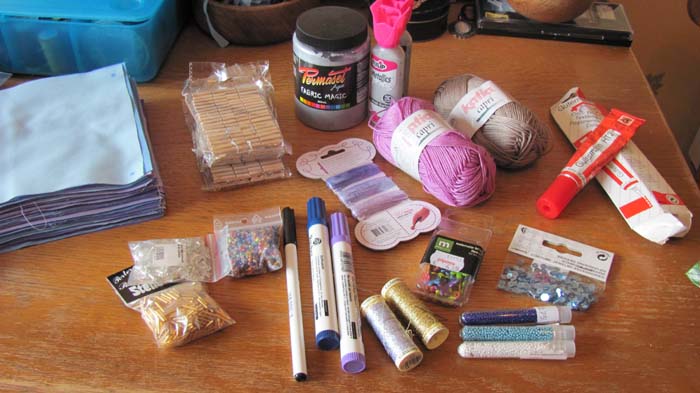
Then go to the shop and/or look in your closets to find stuff with which your guests can decorate their squares. I had amongst others:
- Different pieces of thread, in several colors
- Different beads and sequins, in several colors (Hint: make sure you can get a needle through the holes! I ended up with several bags of unusable beads.)
- Textile markers in several colors (Indispensable for the less-creative guests: they can just write their names on the squares.)
- Scraps of left-over fabric from cutting the squares
- Textile glue
- Textile paint
Step 2: Wash and iron the fabrics
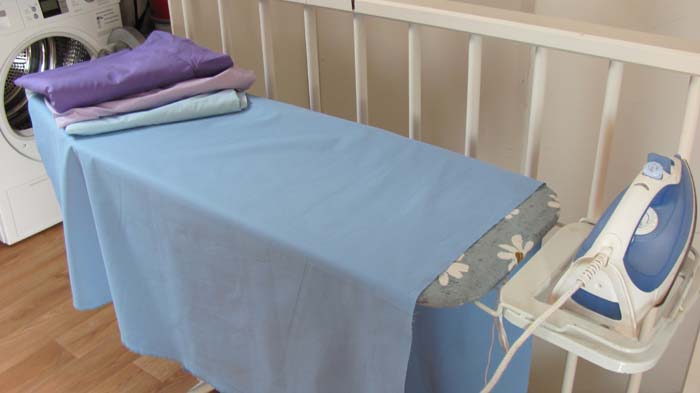
Depending on the type of decorations you provide, you can choose to make it a functional blanket, or a decorative one (to hang on the wall, for example). My decorations were quite impractical for a blanket, so I choose to make a wall hanging. Then it is not really necessary to make it washable and you don’t need to pre-shrink the fabric by washing it in advance. But it won’t hurt to do it anyway.
Do iron the fabric: it will be more work once you have cut it into pieces, and after your guests are done decorating them, you won’t be able to iron them anymore.
Step 3: Draw the squares
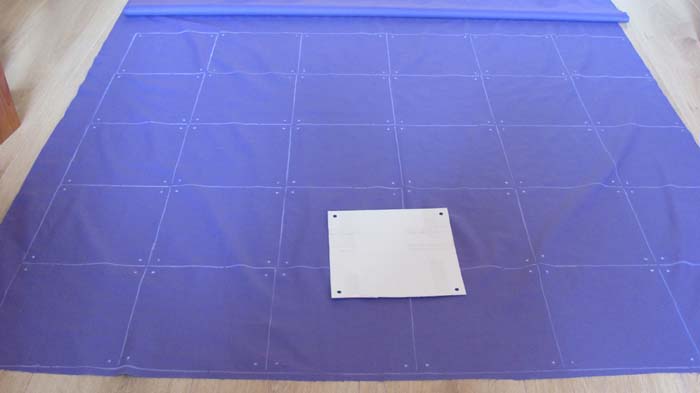
This is a delicate process. Make sure all pieces are exactly the same size, or you’ll get in trouble when trying to evenly sew them together. I made them 17×17 centimeters, including 0,5 cm seam allowance on each side.
I made a model out of cardboard, which I used to trace the squares with tailors’ chalk. In the corners there are holes to draw dots, which served as markers: I instructed our guests to stay between these dots, so room would remain for the seams. Also, when sewing the pieces together, they will help you determine how to put them straight on top of each other.
However, several of our guests either did not notice the dots or misunderstood the instructions, for many wrote up to the sides of the fabric. So if you are making a quilt yourself, I’d advise you to draw a complete frame instead of doing what I did.
Step 4: Cut out the squares
It is hard to predict how many you will need. Not all people will RSVP, but also some couples use one square for the both of them, while others will use one square each.
That’s also the reason why I did not sew them into a patchwork blanket in advance: the risk of being left with a way too big quilt, with many empty patches, was too big. And I was glad I didn’t, because indeed fewer pieces were used than I anticipated.
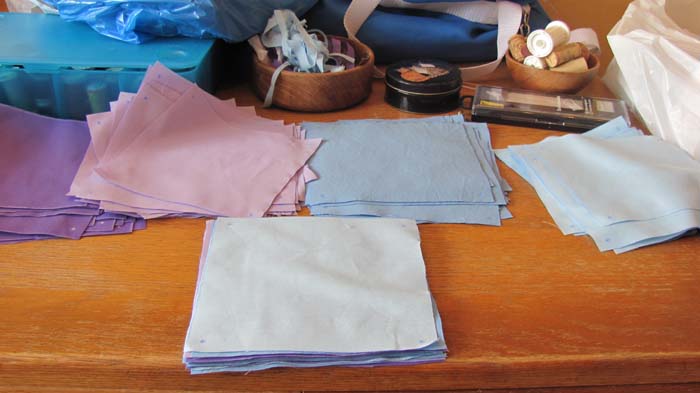
The downside of providing individual pieces of fabric, however, is that people will choose themselves which color they want for their creation. So there is a risk that you’ll end up with a lot of pieces in one particular color, and hardly any in one other. I stacked them alternately, hoping that this would give a clue to our guests. We still ended up with more pieces of one color than the other, but luckily not so bad that I couldn’t turn them into a pattern anymore.
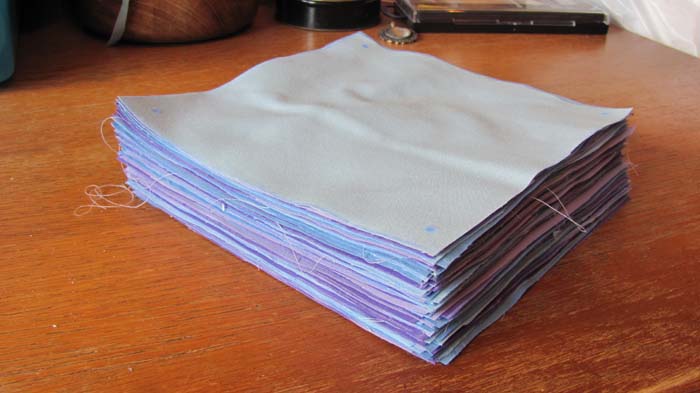
Step 5: Provide the items on your wedding day
Put all the items you bought to decorate, plus the instructions, needles, scissors, paintbrushes, a saucer for the paint, a bowl with water for cleaning the paintbrushes, etc. on a table where your guests will find it.
Tip: make sure you don’t put it on the most precious tablecloth of your venue… at the end of the night, the table will be a mess!
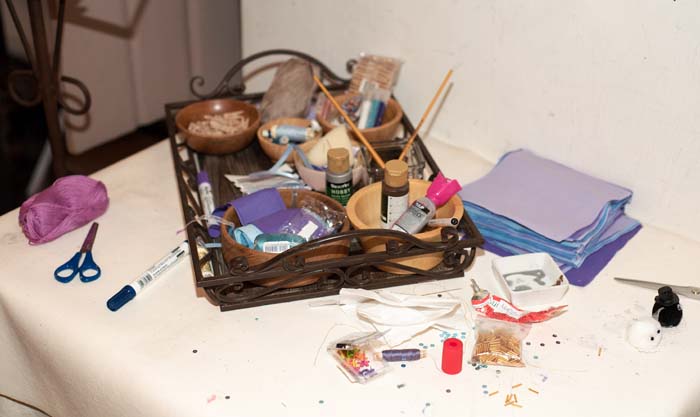
Step 6: Step aside and let your guests have their way with it!
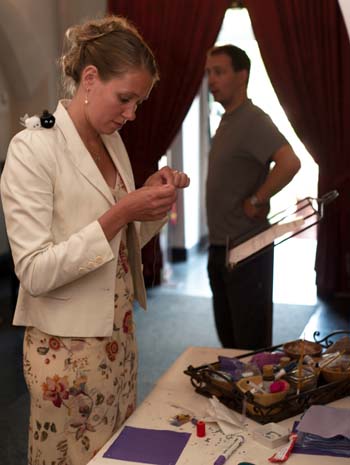
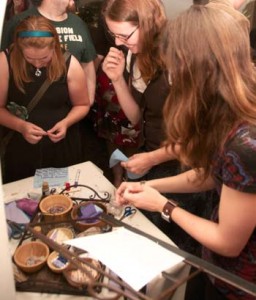
I also provided little clothespins, so they could hang their creations on a display rack after they were finished.
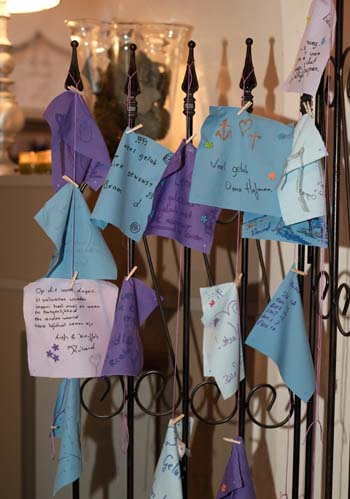
Step 7: Finish off the fabric squares
Boo, the wedding day is over. But, yay, you’ve got lots of lovely, fun, and surprising creations to go through!
Before you can turn those creations into a quilt, you should make sure they won’t fall apart. Your guest are not all experienced seamstresses, so you’ll probably have to re-attach several things or sew them on more firmly.
As my guests tended to ignore the seam allowance, I had to take off some decorations to slightly move them out of the way. On some pieces I was able to cut out the text and fixate it more to the center of another blank square. There were even guests who had cut the square into a cat-shape! Very original, but I did have to sew it onto another square to be able to process it.
You’ll just have to be creative here yourself, and accept that some parts of the texts unfortunately will disappear under the seam.
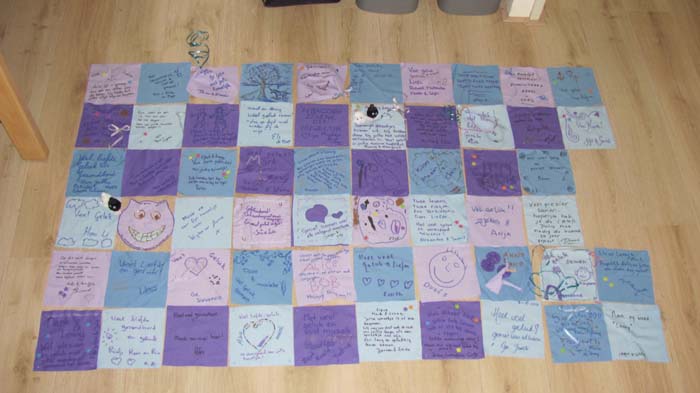
Step 8: Construct your pattern
Scatter out all pieces on the floor, and see if you can arrange them into a pattern.
I deliberately did not make the centerpiece until now, as I wanted to first assemble the pattern and then determine how much space I had and what color would be best for it.
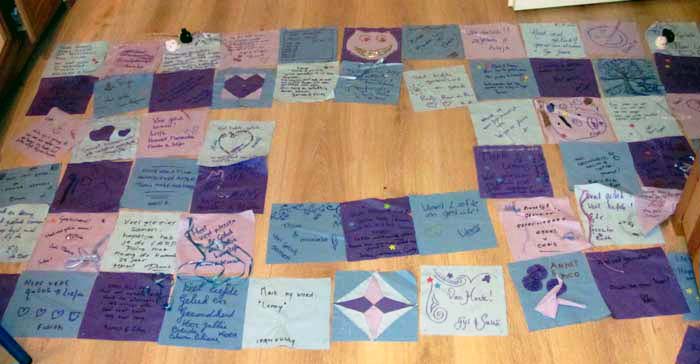
Step 9: Make the centerpiece
The centerpiece can be whatever you like, or you can leave it out all together if you want. I put our names and wedding date on it.
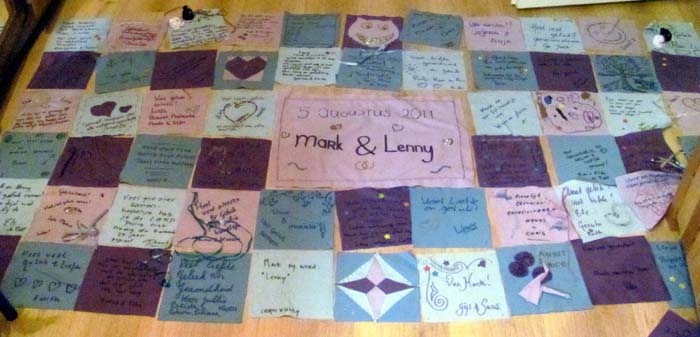
If I had to do it again, I would make it smaller by adding a border around it. Because you are not going to sew through this piece, the larger it is, the higher the risk that it is going to hang once you put the quilt up on the wall.
Step 10: Sew the squares together & iron the seams
This is a very precise task: pin and sew the pieces together. Work row-by-row, or you’ll forget the order of the pieces!
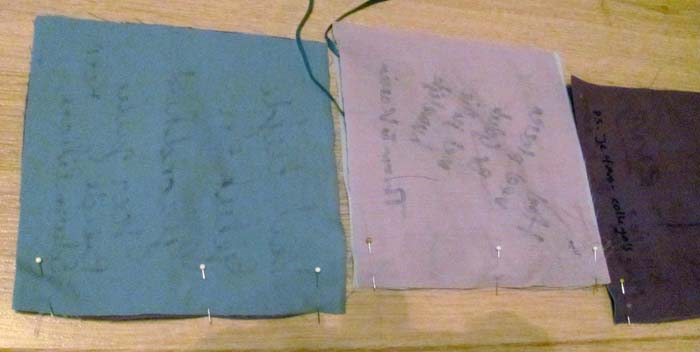
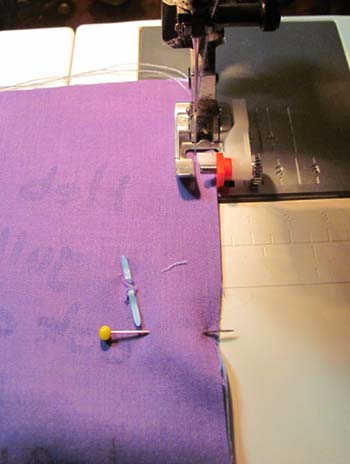
Use a sewing machine foot with a guider, so you can be sure that all seams are an equal distance from the sides.
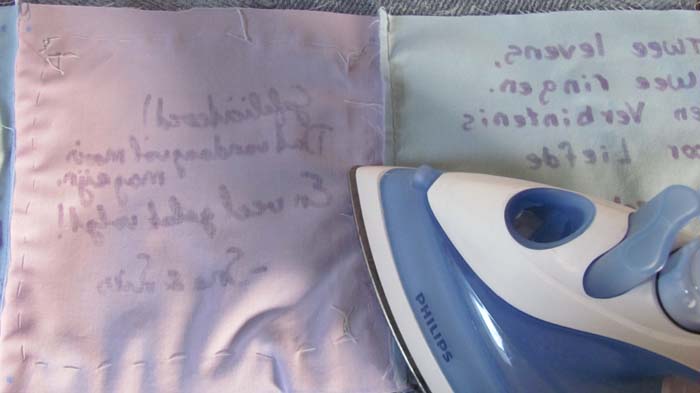
Yes, ironing your needleworks is a boring task, but you will thank yourself for it in the end. It will make sure your quilt top stays nice and flat instead of wrinkle. The easiest thing to do is to iron it step by step: iron every vertical seam after you have finished the rows of squares. Only then sew the rows together into a big square. Then, iron the new horizontal seams.
Don’t iron the seams open: there is a risk that the padding will come through. Rather iron them towards the side of the darkest fabric. Iron the seams of the borders towards the border fabric.
(And of course, do not iron over any decorations, and don’t even come near anything that won’t stand heat!)
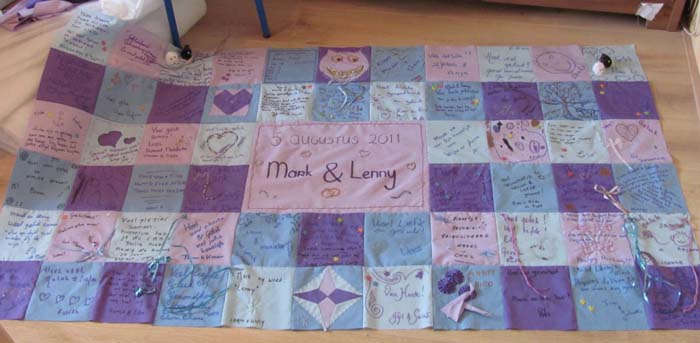
If you’ve neatly sewn everything together, all seams will match and your patchwork will look like this:
Step 11: Add borders and loops
Borders make a quilt even prettier. Cut four strips of fabric, as wide as you like them to be, and sew them along the sides of your patchwork.
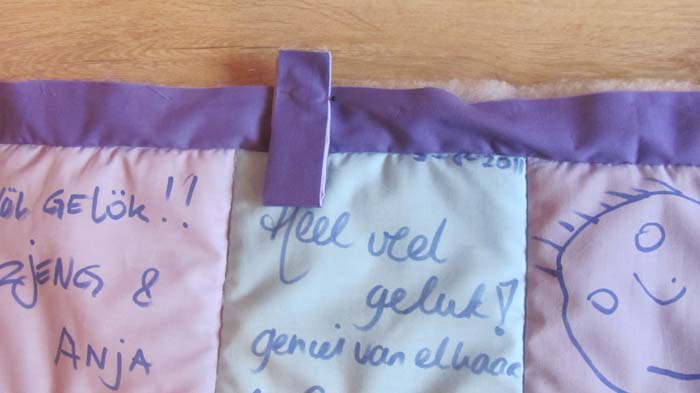
If you want to hang the quilt on the wall, also add loops. Just sew two pieces of fabric together (I used a lighter shade for the inside), turn them inside out, double it over and pin it upside down to the front.
Step 12: Cut the back, padding, and make the sandwich
Cut a big piece of fabric for the back of the quilt, and also a big piece of padding. Once you sew everything together, it will wrinkle a bit, so they must be somewhat larger than your patchwork front (it doesn’t matter if you make them too big, you can cut it off later).
Put down the back with the right side towards the floor. Lay the padding onto the back fabric. Then lay the patchwork top onto it, with the right side up. Smooth everything out as much as you can.
Pin everything together. Start in the middle and work towards the edges, as this will help you prevent wrinkles. Do check the back once you’re finished, to make sure everything is still smooth.
Step 13: Stitch everything together
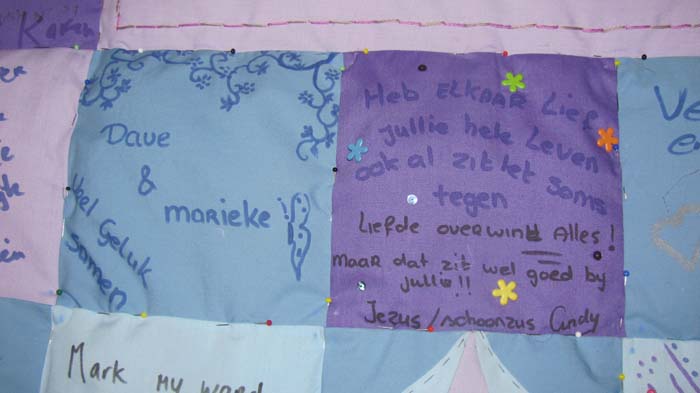
Sew over all seams, stitching the back, padding, and front together.
You’ll really want to have a sewing machine with Integrated Dual Transportation (IDT) for this: it makes sure the upper layers and lower layers are distributed equally fast through the machine. Sewing machines without it may cause the fabrics to shift, even though you have pinned everything down.
Also, there probably will be a very handy quilting foot available for your machine to precisely follow the seams. But I don’t have one, so I just had to mind where I was sewing.
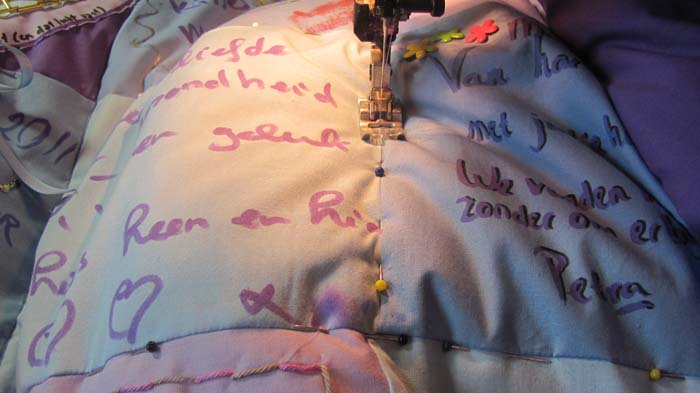
Hint: you’ll have to stuff a lot of fabric into the arm of your sewing machine. Easiest to do is to roll up both sides of the quilt like a parchment, and only unroll the part you need to sew.
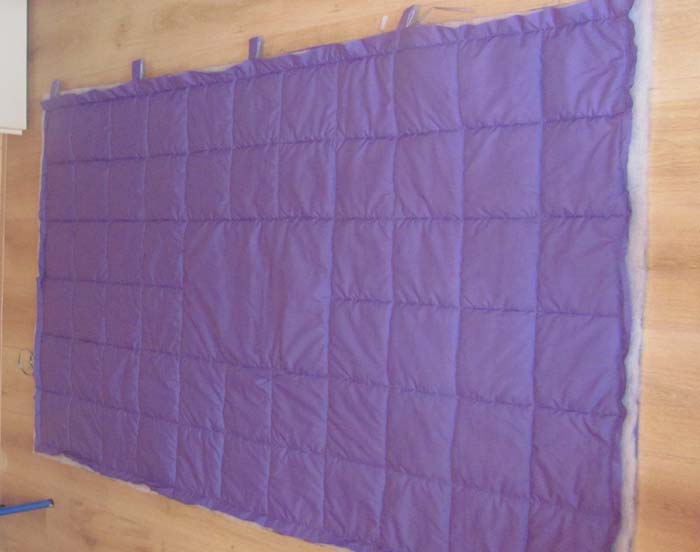
If you did everything properly, the back side will end up looking like this:
Step 14: Finish the edges
Now the proper way to do this is apparently to sew on some piping. I messed up here, because I found out too late that the back and padding had to be bigger than the front, so contrary to the instructions I provided you all with, I had cut them all the same size and ended up with a front panel that was bigger than the rest.
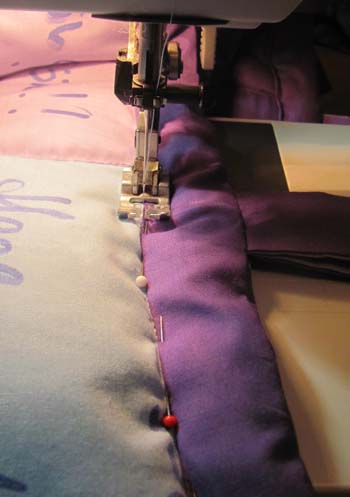
In stead of substantially trimming the front borders to match the back, I decided to sew another strip of fabric onto the borders, iron the seams flat, turn a centimeter or so from the edge inwards, and pin the strip to the back, just covering the seams from the borders.
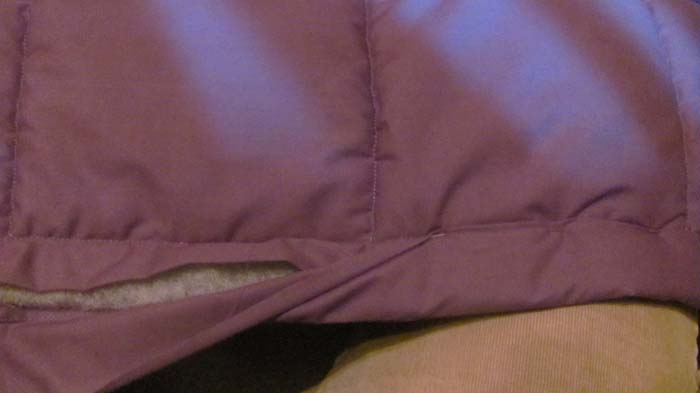
Then I sewed over those seams again, fastening the strip of fabric.
Step 15: Put it up and admire it!!
There, you are all done! Find a nice place in your home to hang it.
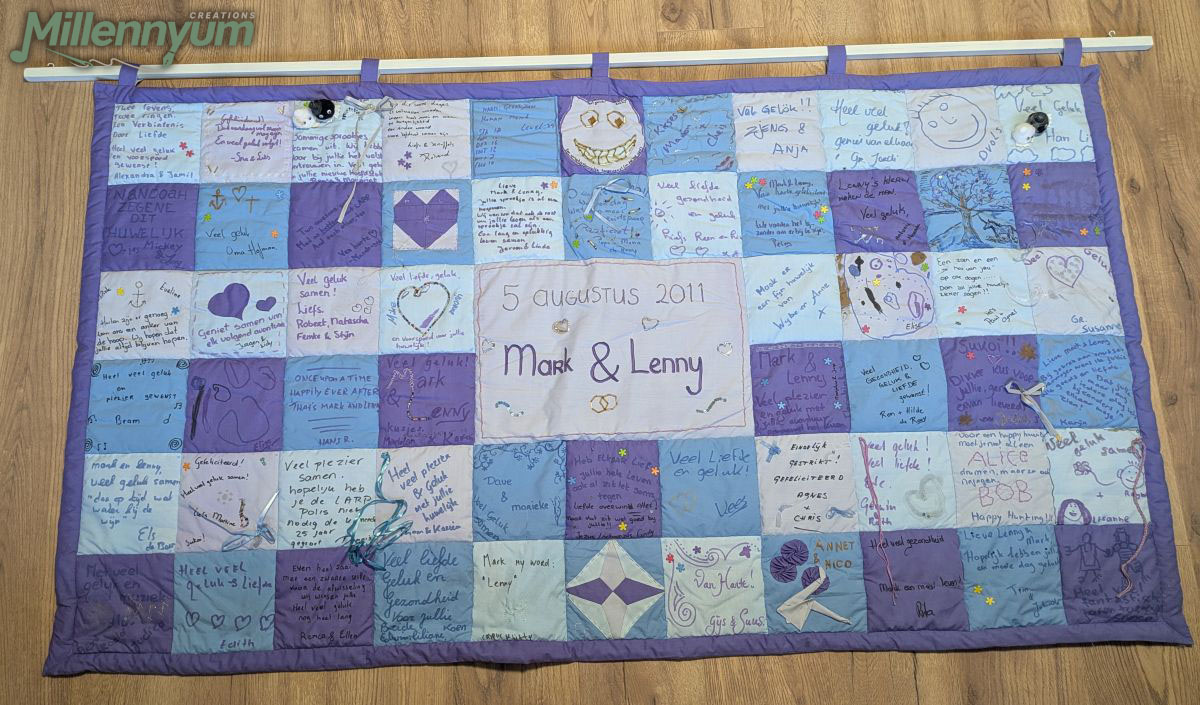
I have to admit it was more work than I had anticipated. And you’ll need to be rather precise when working on it. But it turned out as I had in mind! Although it is a rather simple pattern with these similarly sized squares, I think I can be proud of my very first quilt!
Related Posts
