
I finally finished the outfit for my sister’s wedding! They chose a Wild West theme for the event and asked their guests to dress in style. I assume most people will show up wearing jeans and a carnival cowboy hat, but being both one of their witnesses and ‘the big sister who can sew’, I felt kind of obliged to make something more stylish and period appropriate.
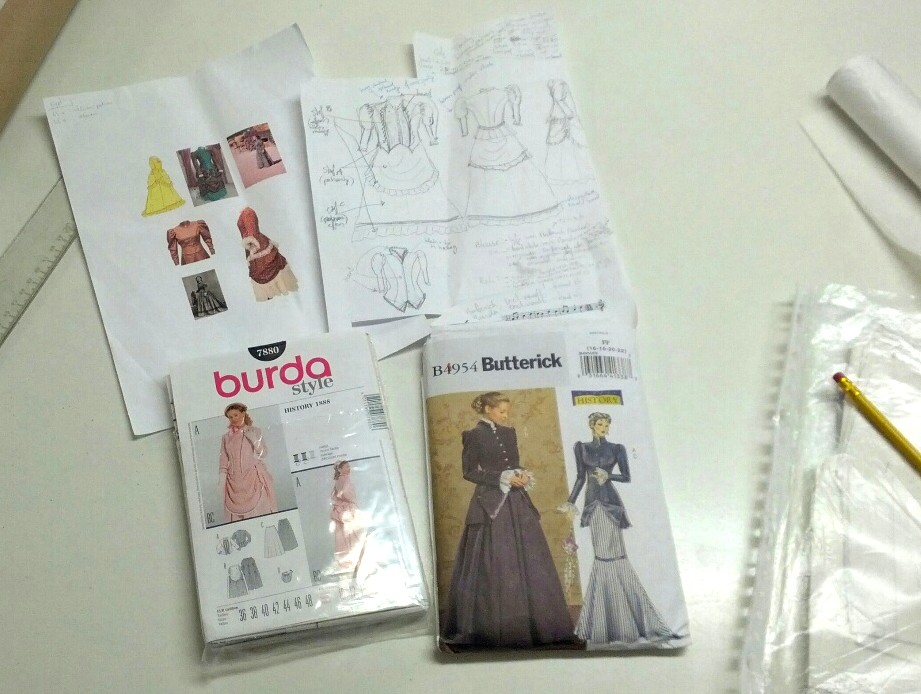
I didn’t go for a perfectly historically correct outfit, I just mixed and matched elements I liked and went for a general 1860-1875’s vibe. I used two patterns that I combined: the top of pattern A with a piece of pattern B, and the bottom of pattern B. And I made several changes to those as well. This wasn’t easy, as one pattern included seam allowances and the other one didn’t. *Sigh* (Can someone explain to me why American patterns always include seam allowances? Dutch patterns don’t, so they are much easier to adapt!)
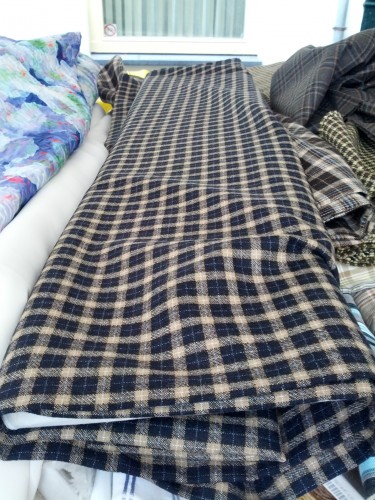
My mission to find a suitable fabric wasn’t very succesful. That is – I found a lovely checkered wool, which I immediately fell in love with, but it was €48 per meter… Then the market trader told me I could have it for only €10 per meter, as he was going to close his business!! After my initial joy, there was a second bummer: I needed 7 metres of it and there wasn’t that much left… 😩
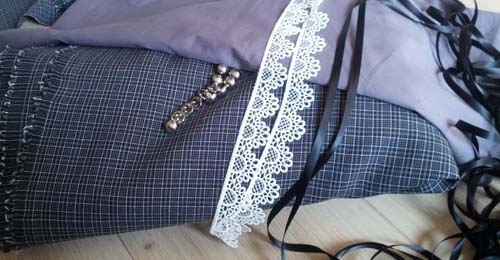
I ended up finding another more or less suitable fabric, but now that I’ve seen The Perfect Fabric That I Cannot Have, I am not able to like the alternative. It has a nice pattern and color, but it looks and feels too synthetic and modern. Anyway, I had to make do with it.
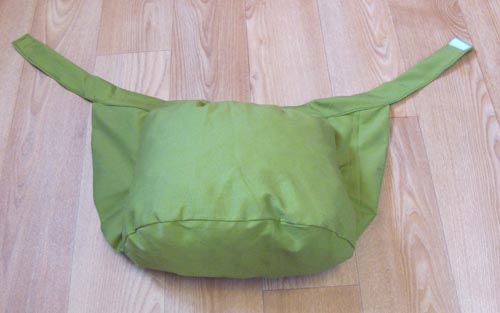
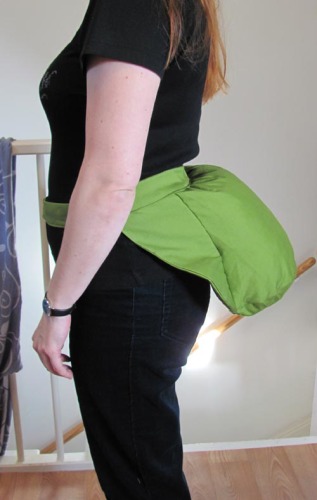
Besides a skirt and a top, I also had to make a ‘butt poof’ – i.e. something to make the skirt stand out. I don’t think it is historically correct, but it should do the job and it looks comfortable, as it is merely fabric (don’t mind the eclectic color – I used some scraps for it) stuffed with the filling of an old pillow. I’d never before worn a costume with something like this, so I had no idea how this would turn out.
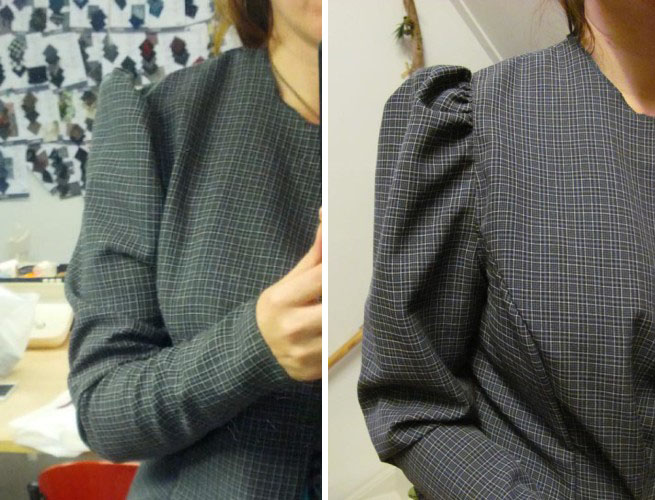
I had some issues with the puff sleeves. They were not part of the original pattern, so I had cut into the sleeve pattern and spread the sleeve head open to make room for gathering. But the result wasn’t at all what I had intended: after attaching the sleeve to the bodice, the sleeve head stood way too upright and was too flat. I was afraid I would have to re-draw the pattern and cut new sleeves from the fabric, but my sewing teacher advised me to merely move the gathers somewhat, and move the sleeve a little more up the shoulder, towards the neck. And she thought it would look rounder after I had finished the seam, because then the seam would tilt somewhat, pushing the fabric outwards. Lo and behold – that indeed fixed it! What a difference that made!
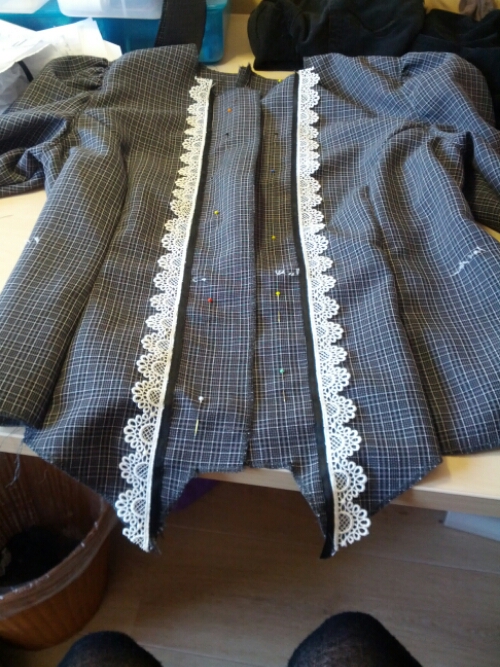
Gathering the ruffles and attaching them to the skirt took quite some time – and metres of fabric! I was also happy that I had learned from my previous mistakes and had bought lots of length of black ribbon, so I had enough of that to go round the skirt 4 times. I also had enough of it left to sew it along the blouse together with some lace, which made the blouse look prettier than my original design (with lace on the cuffs and collar) would have looked.
As I am not a milliner, I bought a cowboy hat from the store to go with the outfit. But not a carnival-hat: a woolen quality hat. It wasn’t cheap, but worth it, because it really completes the western look!
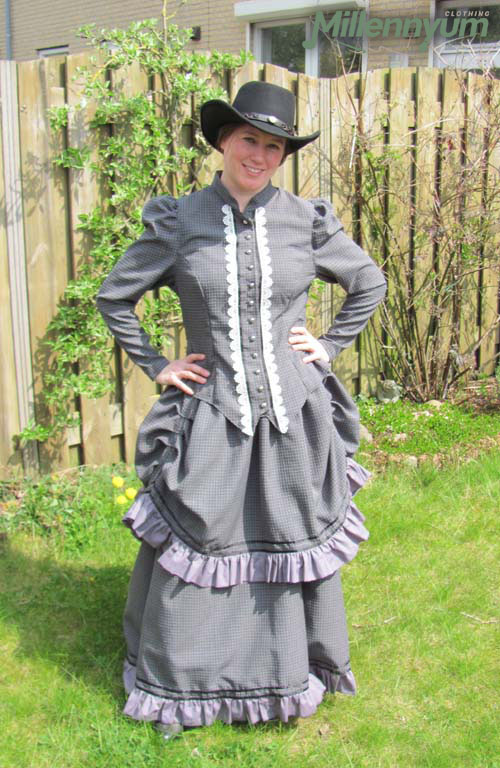
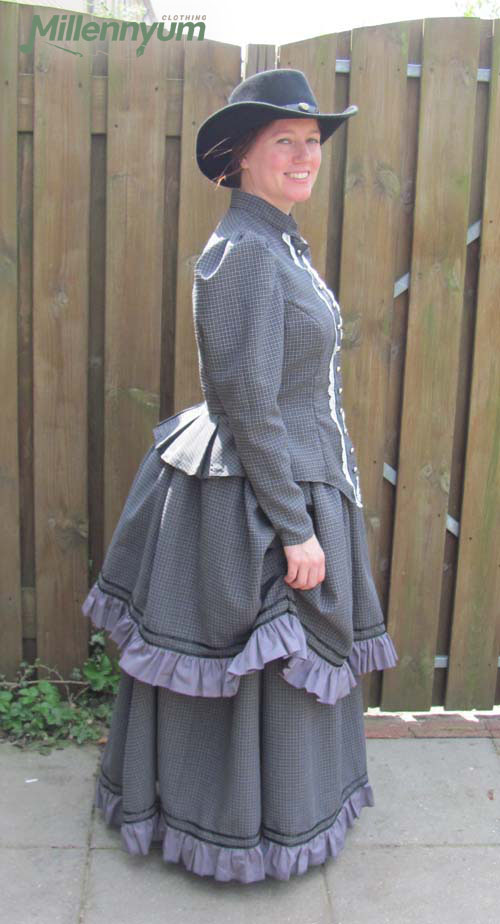
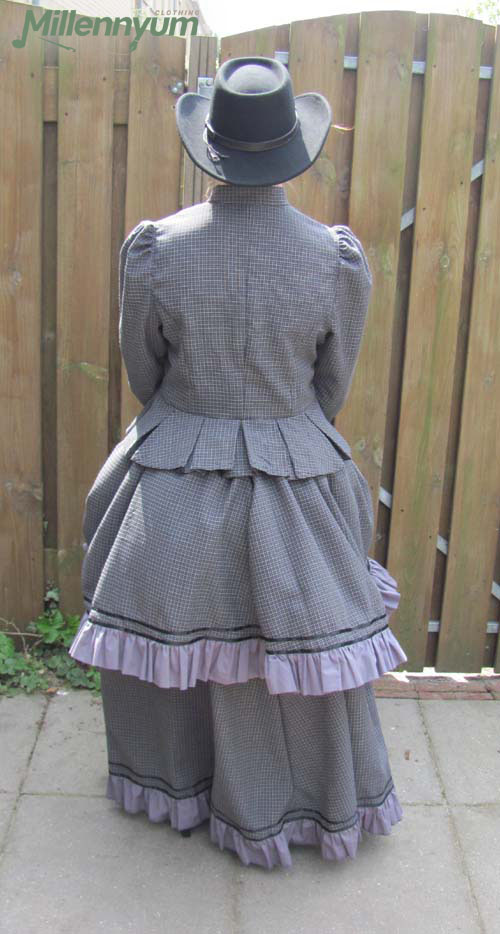
I’m not entirely happy with the flow of the skirt – it falls too flat at the bottom. I guess that is because I am not wearing any layers underneath it (nor am I wearing a corset – I want to be comfortable during the wedding). Also, in hindsight, I should have made the top layer of the skirt a bit longer. But all in all, it still came out rather the way I envisioned it! And I’m sure it will help set the right atmosphere at the wedding.
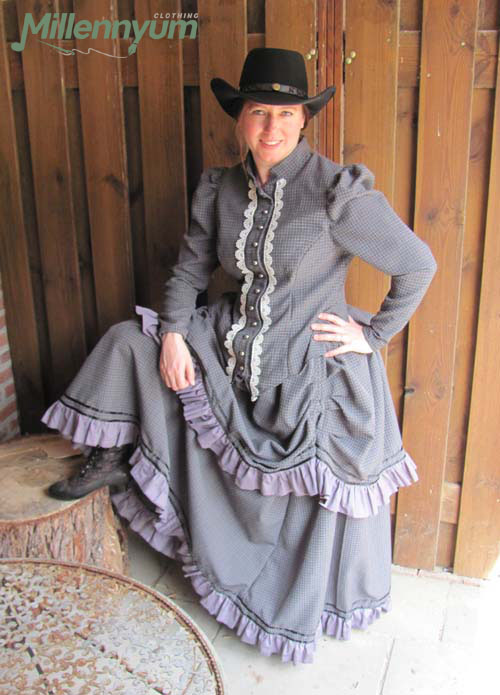
Time spent: 53 hours
Costs: €52,10 (fabric, lace, ribbon, and buttons), plus €69 for the cowboy hat.