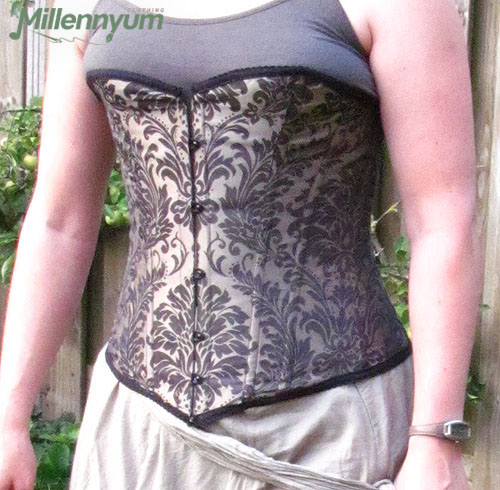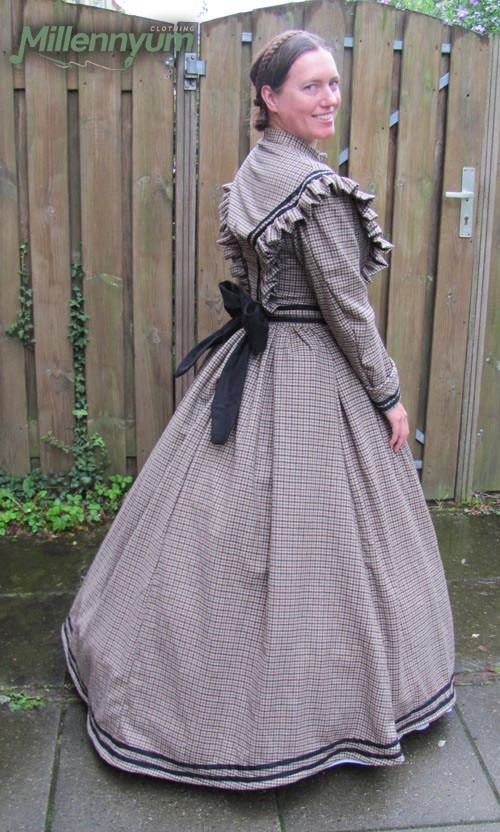
For a LARP event in Victorian setting, I am working on a Victorian outfit. To accomplish the right silhouette, I will need a hoop skirt (also called crinoline) to wear underneath it. Most commercially produced hoop skirts are round, but I wanted an 1860’s shape (egg shaped, with the bulk at the back), so I decided to attempt to make one myself!
It turned out to be a little more difficult than I thought it would be (what else is new…), but I learned a lot about the how and why of hoop skirt constructions!
I opted for a version that only has metal loops attached to strips of fabric, instead of a full-fabric skirt with metal hoops sewn onto it. That would have cost a lot more fabric and I hoped this version would also be more airy.
Making the strips of fabric on a waistband was easy enough.
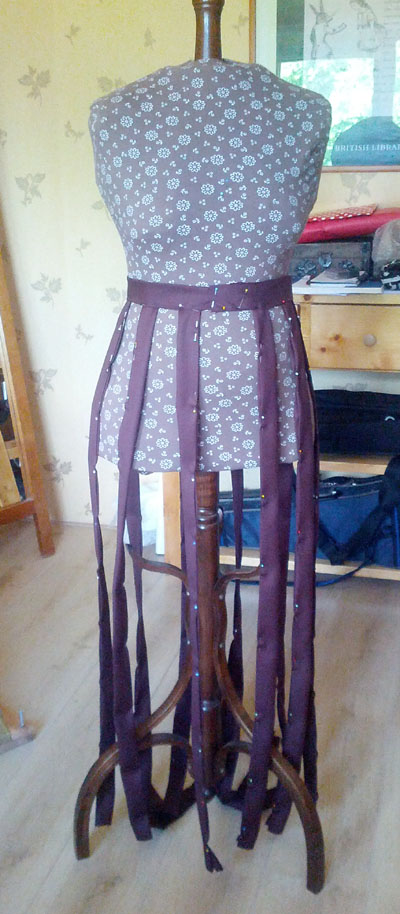
Then what?
I decided to start with the bottom hoop. It shouldn’t be as wide as the circumfence of your skirt, because the skirt needs to fall in pleats. But how much smaller the hoop should be was a guess for me.
I saw on pictures that the metal loops were covered with fabric. Initially this seemed like unnecessary extra work, but it turns out you’ll need the covers to sew the vertical fabric straps onto, otherwise they won’t stay spaced out evenly.
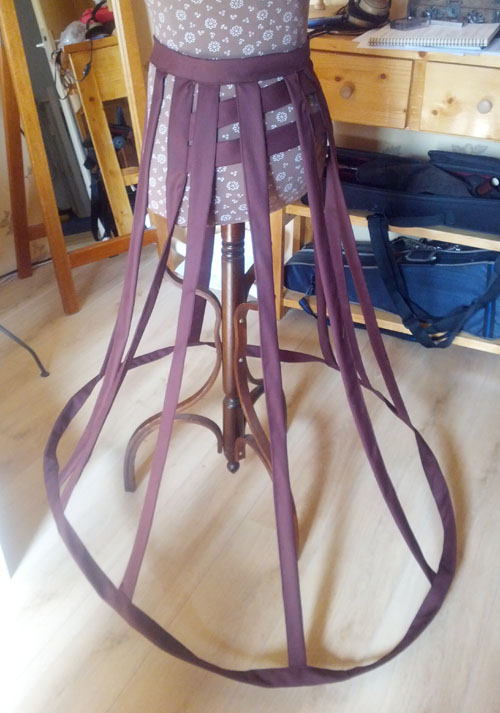
Then I learned that you cannot make an oval hoop. They will remain round. Also, making the back strips longer than the front ones won’t make the hoop stand out more at the back; it will just sag downwards unevenly and you’ll still stand in the middle of it instead of at the front. It is necessary to create a protruding construction at the bum that holds the whole thing backwards. I attached horizontal strips of fabric that are supported by my butt, to hold everything in place.
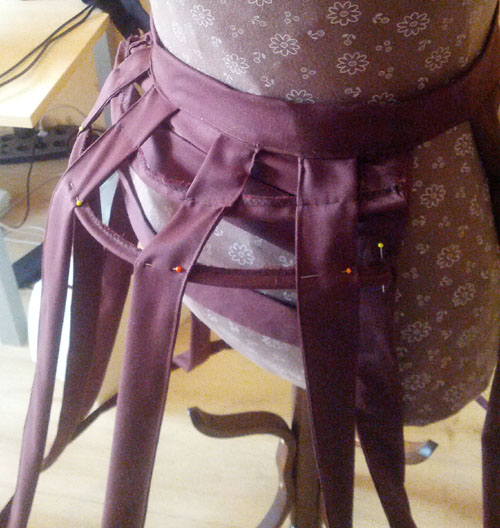
Another tip: when you add the next hoops, don’t immediately sew them onto the vertical strips. It takes a lot of fidgeting to get their width and positioning right! First pin them all into place, then test the construction with your skirt. Re-adjust the width of the hoops and their position where necessary before sewing them in place. (For this job, a mannequin is really helpful!)
Finally, I learned why there often is a strip of ruffles attached to the bottom hoop. They soften the transition of the skirt when it falls over the edge of the hoop skirt, so you won’t see the shape of the hoop. Of course, wearing a petticoat between the hoop skirt and the skirt will help accomplish this as well (you should always wear one, don’t leave out this layer!), but depending on the petticoat, these ruffles may still make it look better.
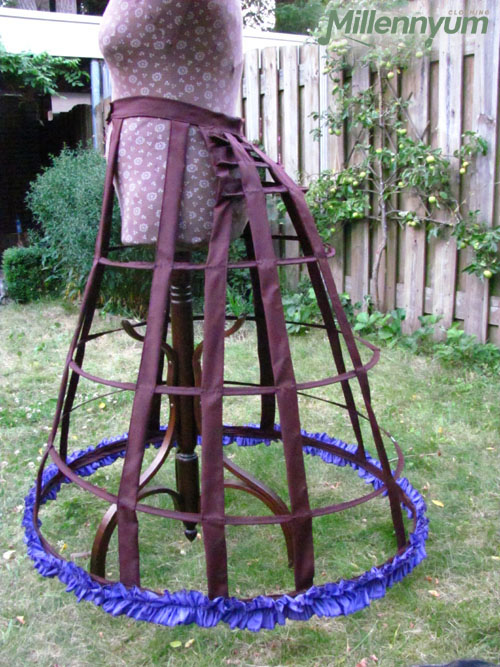
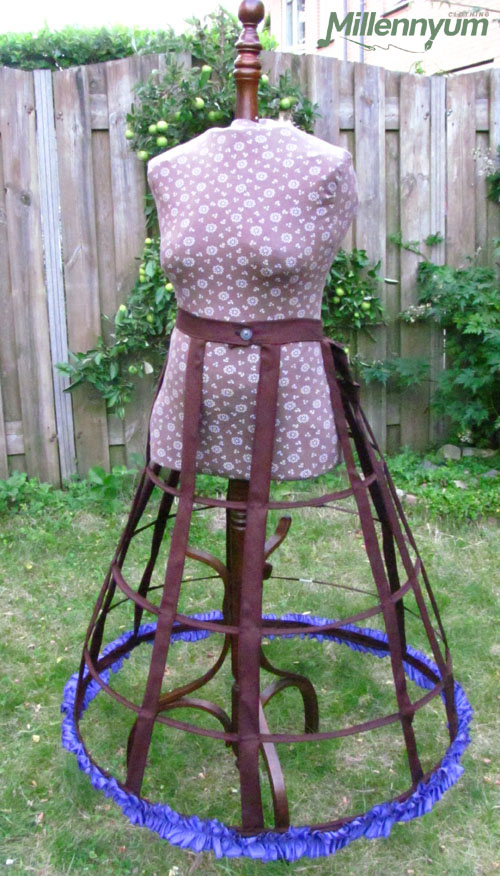
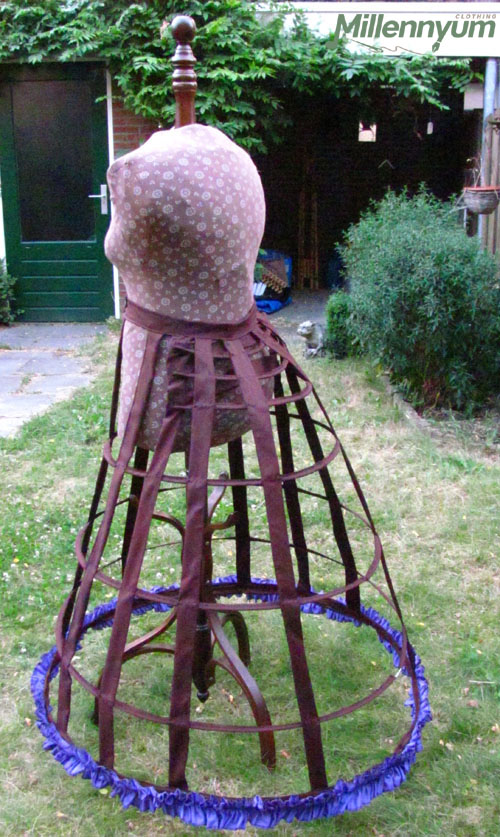
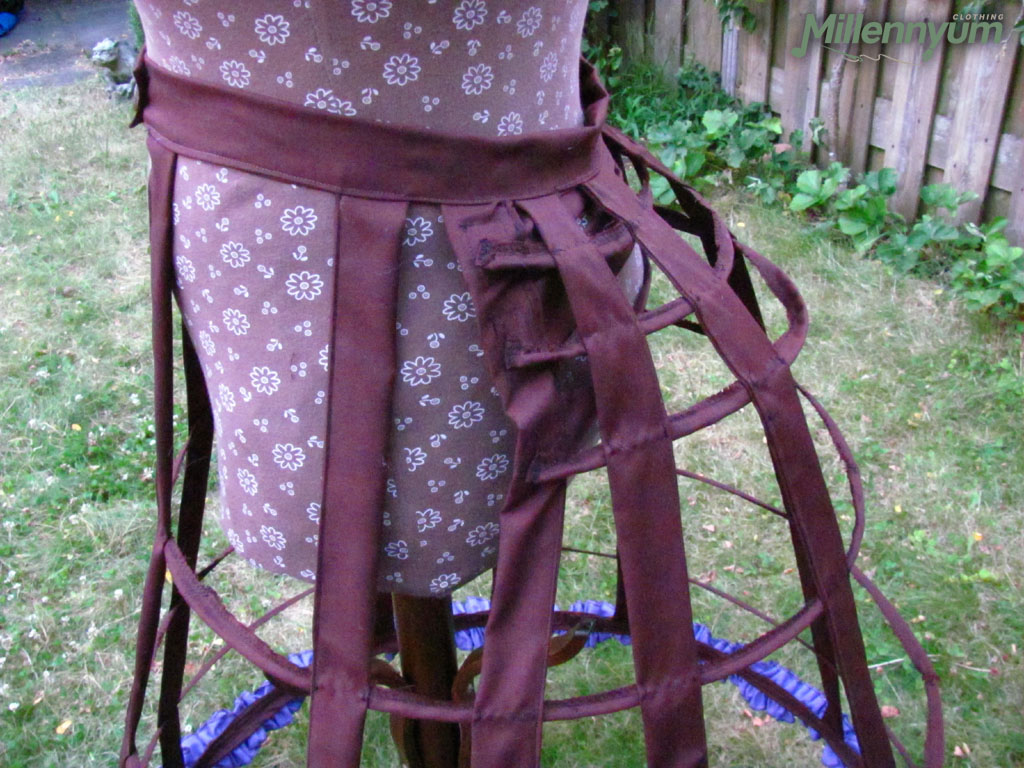
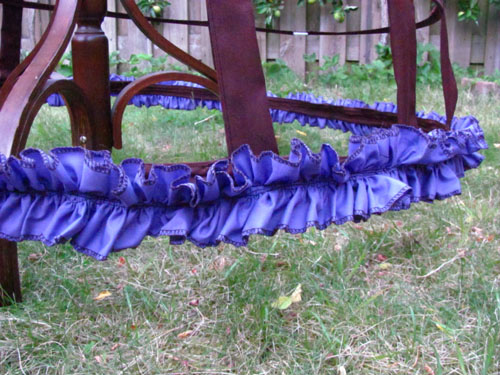
Don’t mind the eclectic purple color… I used some left-over fabric, figuring you’re not supposed to see the hoop skirt when wearing the outfit anyway… 🤫
Time spent: 20 hours and 45 minutes (yay for trial-and-error…)
Costs: €24,95 (For the metal wire, of which I have a lot left. I used fabric, sewing thread and a button from my stash.)
Related Posts