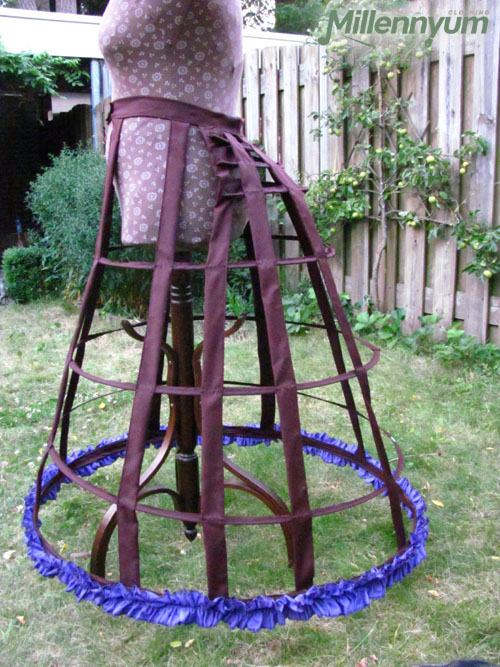
Under my 1860’s dresses I wear a hoop skirt and a petticoat that runs longer at the back, to accommodate the 1860’s dress shape. But for the Dickensian dress I was going to sew, I needed a different type of underlayer: a corded petticoat.
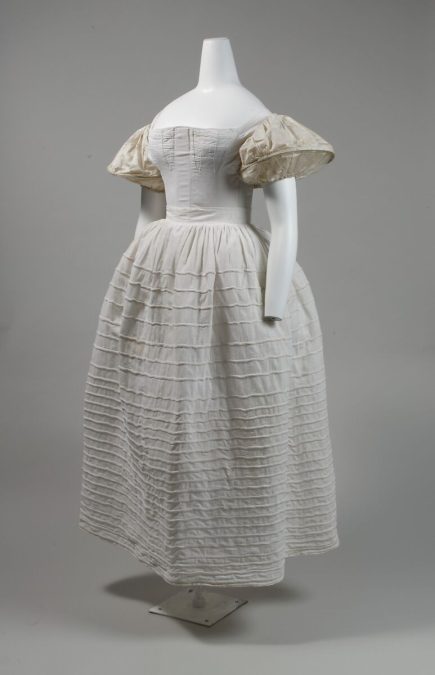
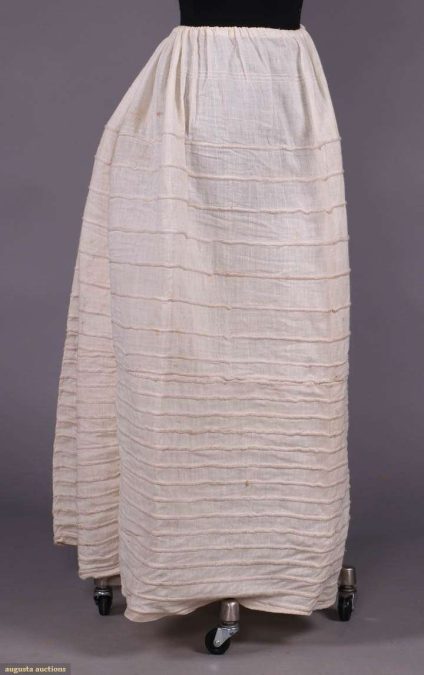
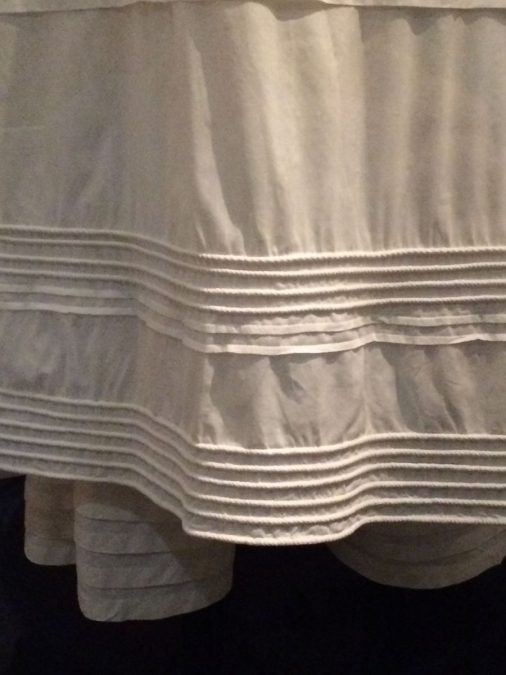
Around 1820/1830 the skirts began to grow wider and wider. To achieve that volume, women had to stack multiple petticoats on top of eachother. At a certain point, all those layers became too heavy and impractical, so they had to come up with a different solution. Someone thought of sewing horse hair into the skirts, so they would become stiffer and stand out more. Some manufacturers replaced the horse hair with cotton cord. And that is how the ‘corded petticoat’ came into existence. It could replace several layers of normal petticoats.
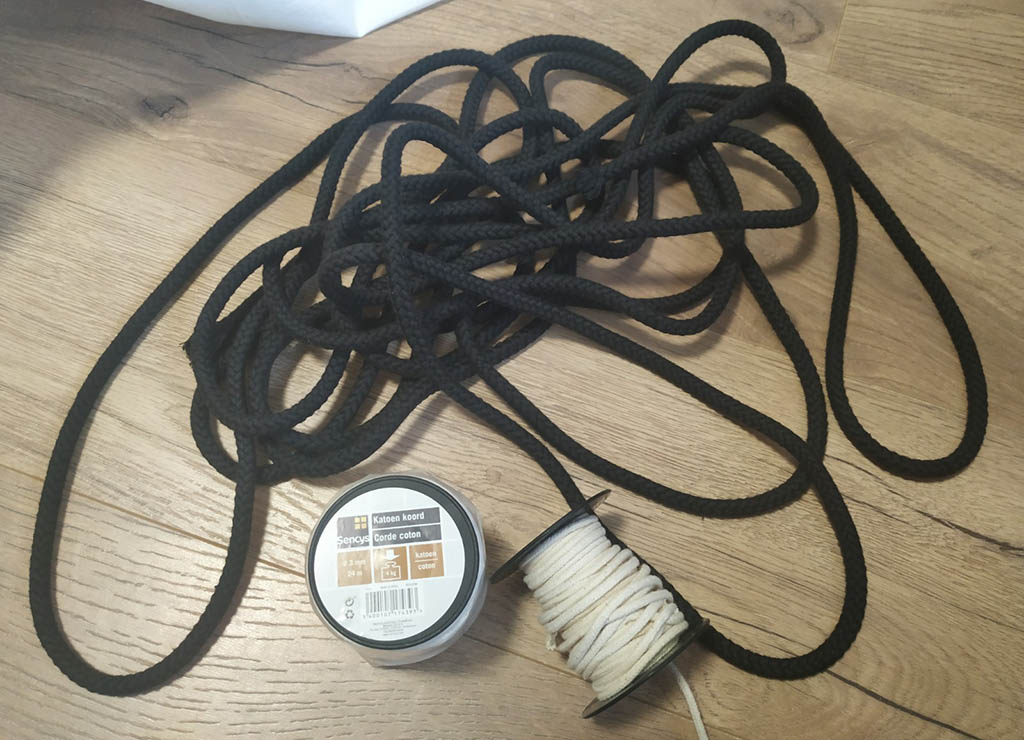
Most of the cord I used for this project actually came from the hardware store! They sell spools of cotton cord in several widths and at a rather affordable price. I wanted 4mm cord for the inner rows and a much thinker one for the bottom row, but they only had 3mm in stock and I did not feel like ordering online and pay for shipping, so I went with that smaller width, and bought the extra thick cord (the black one) at the haberdashery store.
American Duchess has a great video about how to create a corded petticoat. However, as I did not have enough fabric to make both the skirt and the lining (I was recycling an old bed sheet), I went about it differently: I only sewed strips of fabric against the backside at the location of the cords, instead of sewing a full lining against the outer layer. That makes the thing less heavy as well. The downside is that the cord now bulbes inwards instead of outwards. I have no idea if Victorians did it that way too, but I doubt it really matters when it comes to functionality and silhouette.
So here’s how I did it:
Step 1
Sew straight pieces of cotton together until the perimeter of the whole is the same size as the width you want at the bottom of your petticoat. You will end up with a tubular piece of fabric, that will become the outer skirt layer.

Step 2
Mark the spots where you want to sew the cords on the outer fabric (you really don’t want to measure this only when the thing is already under your sewing machine).

Step 3
Cut strips of fabric and sew them in place by stitching one side against the marked line.

Step 4
Fold the strip open and insert the cord. Fold the strip of fabric closed, slide the cord as tightly as possible against the stitched seam, and use a zipper foot to sew the piece of fabric as tightly as possible against the cord. Sew all the way around, and when you reach the starting point again, do not cut the cord but simply lay it alongside the first one and go around again, continuing until you have sewn enough cord at that section of the petticoat. (The exact pattern and quantity of cords do not matter that much; apparently, countless different variations existed at that time. Of course, the more cord you sew in and the more you sew directly next to each other, the sturdier your petticoat will be.)

I can tell you that this is not exactly the most mentally stimulating chore. 😑 So it was a matter of switching off my brain, putting on some music, and sew, sew, sew…
Almost 50 meters (!) of cord later:
Step 5
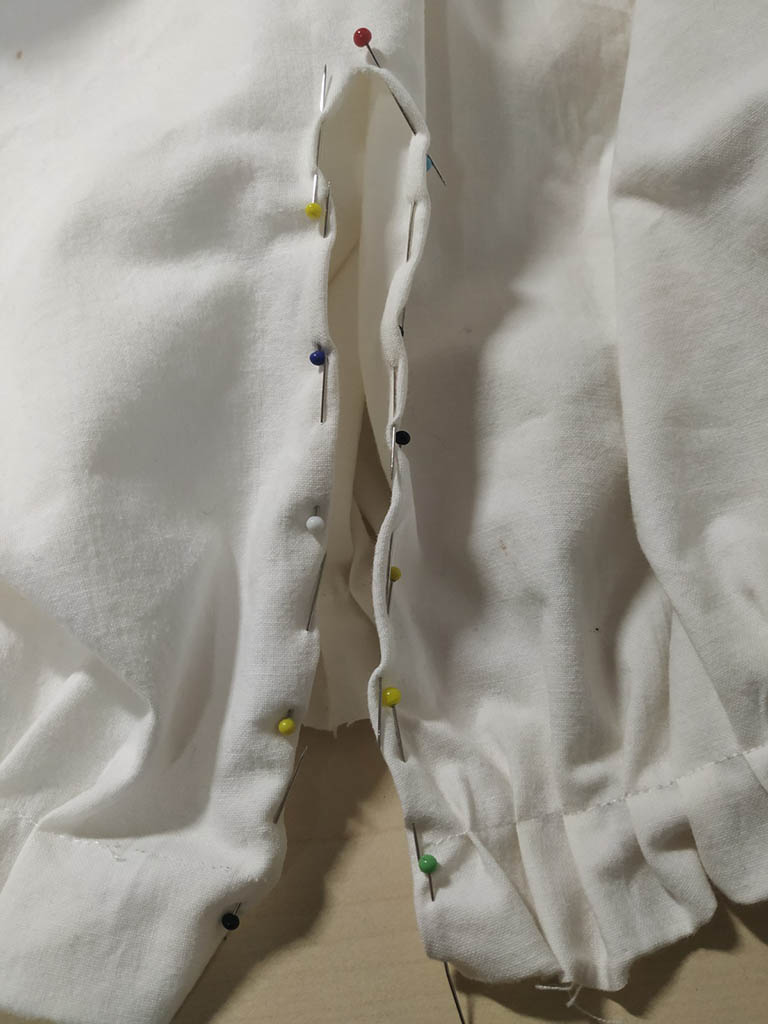
Cut an opening in the center back so that you can get the petticoat over your hips later. Finish the edges.
Step 6
Pleat or gather the top of the skirt to the desired waist width. It is not entirely clear to me if there is a fixed technique for this; judging by museum pieces, both gathering and pleating are used, and with various types of pleats as well. I preferred pleating to gathering to keep the waist as flat as possible, given the number of layers that need to be worn over it.

Step 7
Sew a long waistband against the pleated top of the petticoat.

You can either make a button closure in it, or, as I did, cut a very wide waist band and use the long ends to tie it to your waist. This makes it lay less flat, but better accommodates for varying waist sizes.
Step 8
Stiffen the petticoat! In grandmother’s time (and many generations before that, too), using starch was quite normal, but I had never done this before and hadn’t learned how to do it from my mother either. The stuff is apparently so old-fashioned that I couldn’t get it at the supermarket anymore. (I did find small spray cans, but to spray an entire petticoat with that is going to be a lot of work and expensive…). So I ordered a box online.
According to the instructions, for ‘a quick hand wash’, 1 to 2 tablespoons of powder had to be dissolved in 1 deciliter of cold water, which you had to add to 0.75 liters of hot water. Yeah, let’s just multiply that by 10, given the size of my ‘hand wash’. One spoon… two spoons… three spoons… never mind, this isn’t getting me anywhere. I eventually just emptied the whole box in there! 🙃
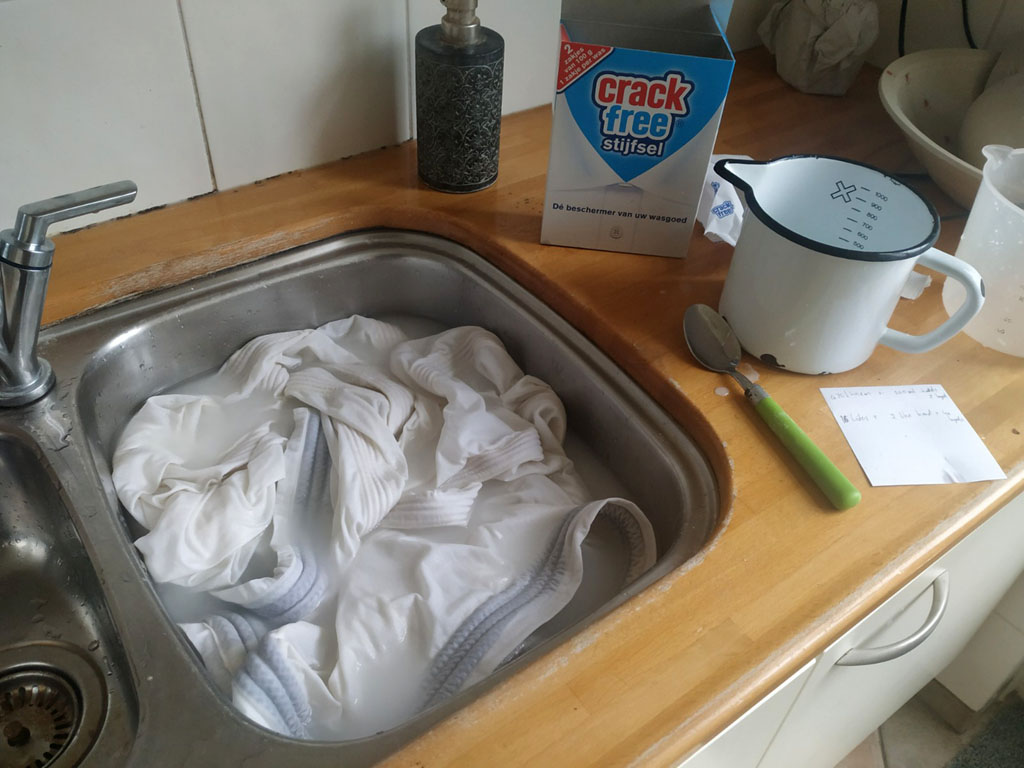
Then I had to iron the whole thing while it was still somewhat wet, for the stiffest result. Note to self: next time, spin the petticoat beforehand on a slightly higher centrifuge setting than the lowest, because those laces soak up water like crazy, making it impossible to iron the thing dry. I suspect, therefore, that the end result could have been stiffer if I had actually made it a bit drier before ironing, but I will try that next time.
That’s probably why I saw little difference between before and after stiffening. Perhaps I made the petticoat too wide (2.6 meters), so it cannot support itself very well, and the laces would have stood up in a more rounded shape if the circumference had been smaller?
This is the final result:


Time spent: 11,25 hours (not including washing and ironing)
Costs: €20 (for the cord only; the fabric was recycled and I forgot how much the starch cost.)
Related Posts