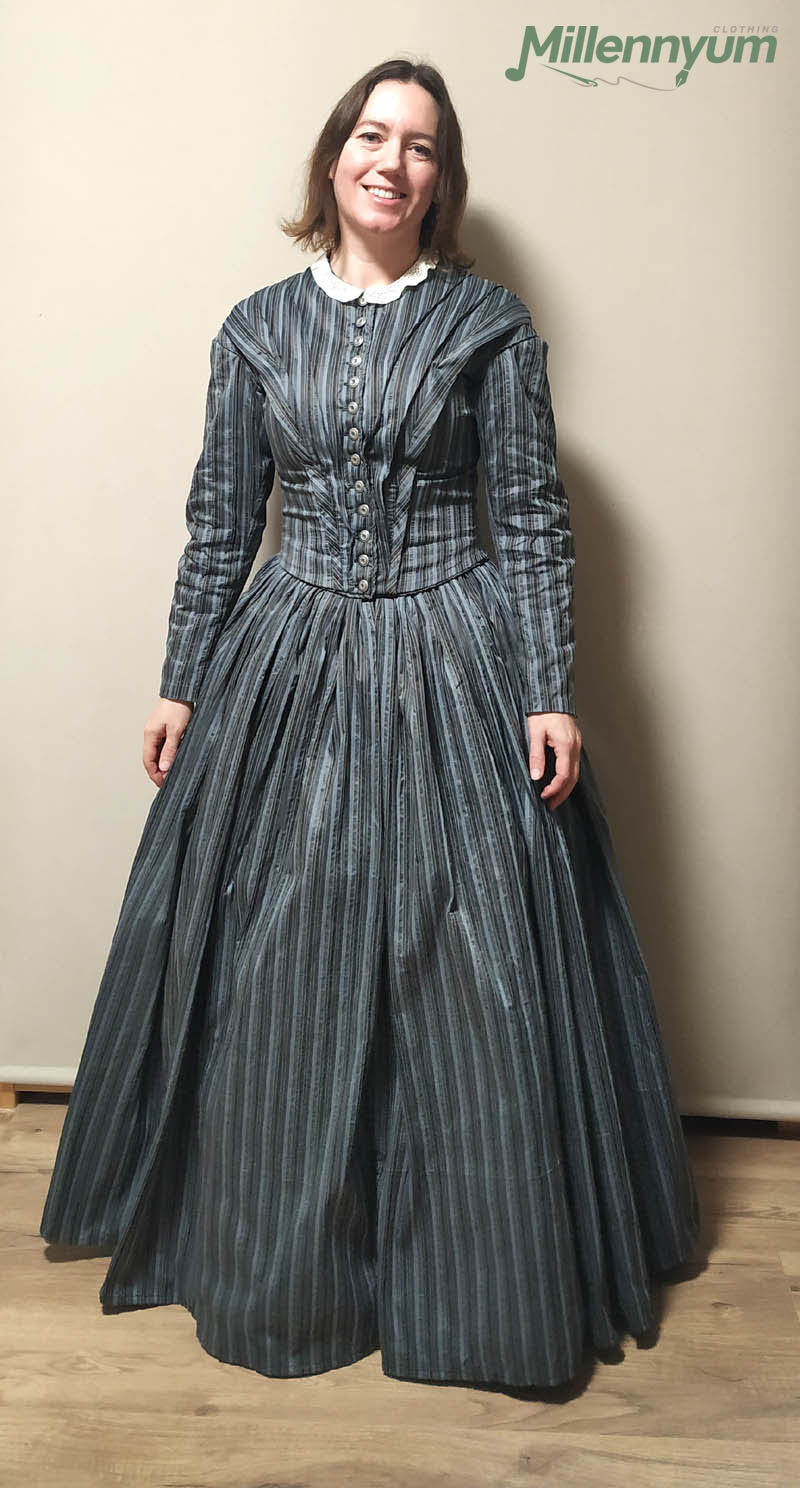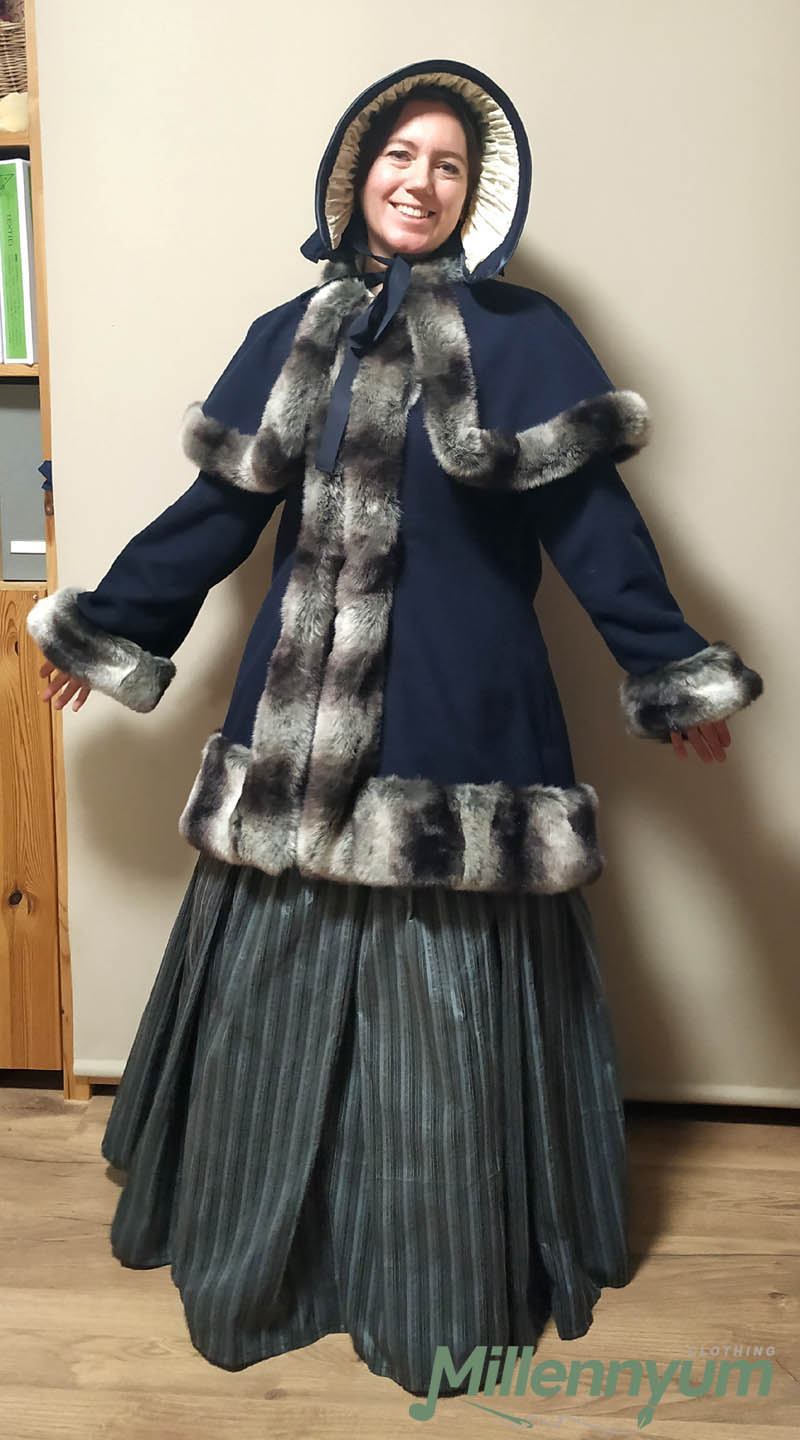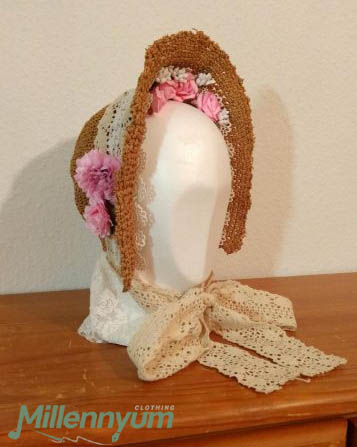
I already sewed a dress and a corded petticoat for my 1840’s Dickensian outfit, but I also needed a bonnet to cover my hair.
I had never made a bonnet from scratch before, so I just figured it out along the way. Let me show you how I did it, so you can do it too – and hopefully with less of a hassle.
Step 1
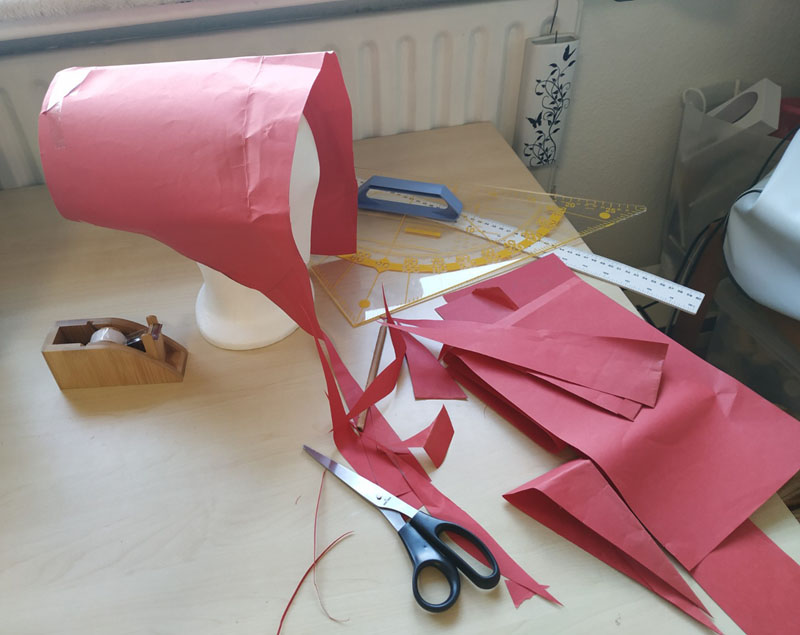
Make a cardboard prototype to figure out how to get the right shape (after delving into the bonnet fashion of 1840, of course). Then make a second prototype. Repeat this 32.492 times until you finally have something that works. (OMG, how hard can this be?? 😖 )

Step 2
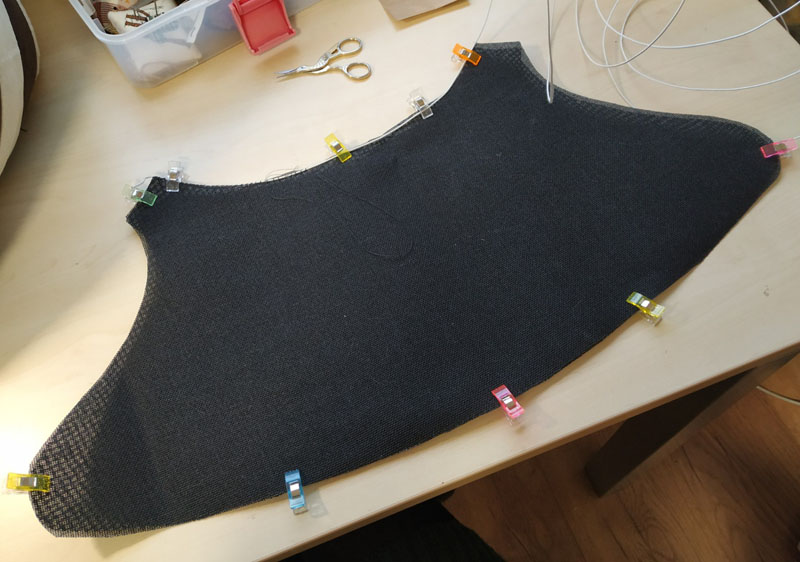
Cut this shape out of buckram and stitch millinery wire along the edge for reinforcement.
This sounds easier than it is, too. Good buckram is nowhere to be found in the Netherlands! The only online shop where I found the good stuff emailed me after I placed my order to say that, oops, they didn’t have it in stock after all. When I then ordered it from a hat-making supplies webshop, the stuff they delivered turned out to be, as I had feared, much too floppy. Eventually I just stacked two layers of the material on top of each other for extra firmness.
Step 3
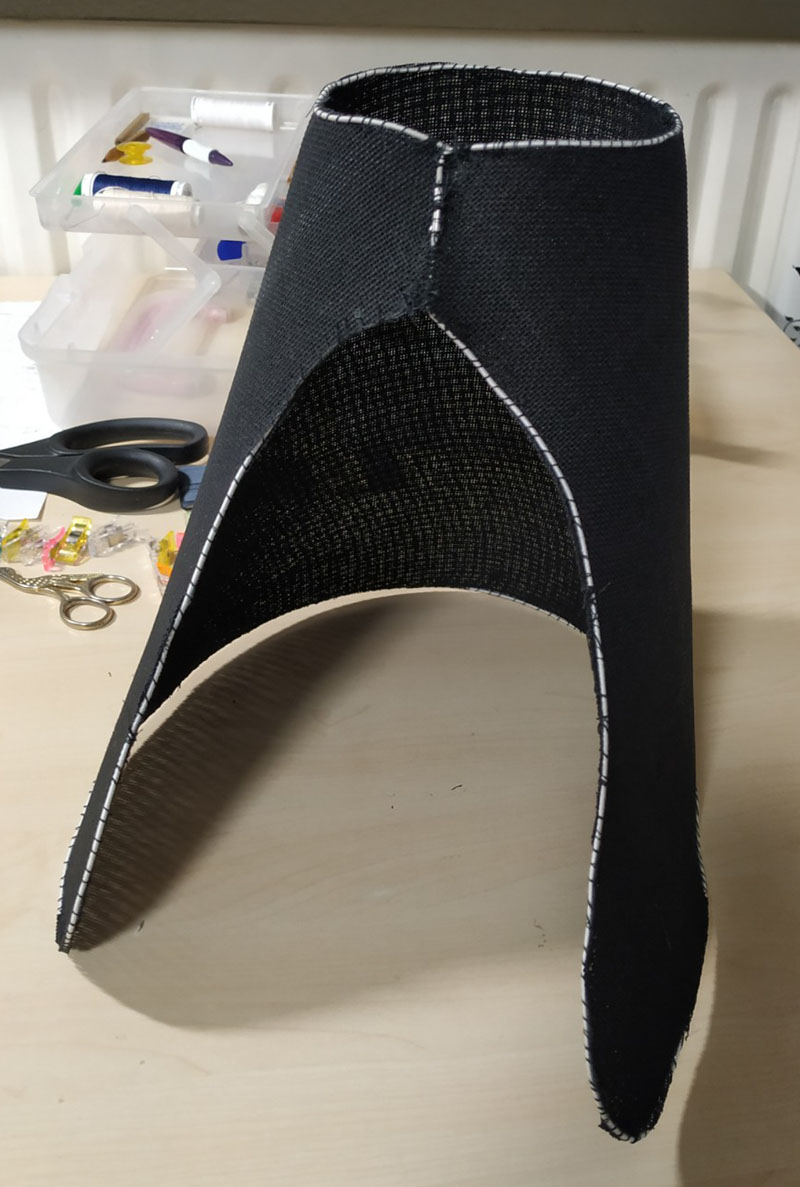
Bend the wire into a bonnet shape and sew the bottom edges together.
Step 4
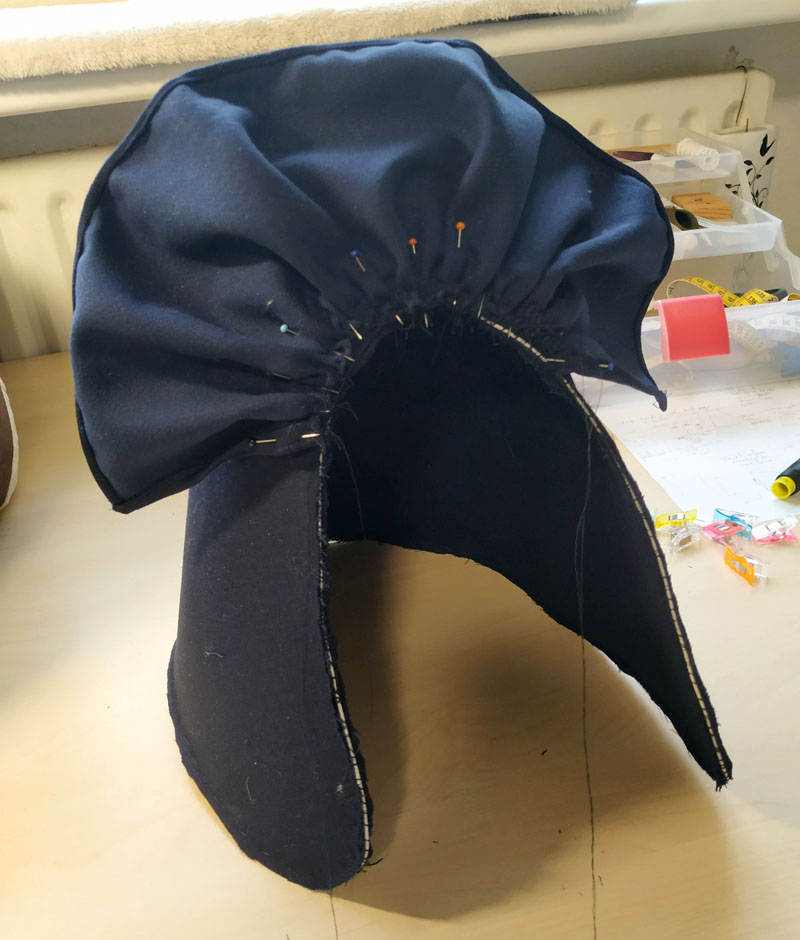
Cover the back and sew fabric to the outside and inside.
It appears that you don’t need to fill the round opening at the back with buckram. Thanks to the hat wire, it stays perfectly round. So, I just made a decorative piece of fabric by pleating it. I stitched that to the buckram and then stitched the fabric, that I cut into the same shape as I cut the buckram, to both the inside and the outside. (Tip 1: use a curved needle for the inside. Tip 2: on most sides you’ll want to cut a seam allowance so you can fold the fabric over, but when it comes to the front edges, it is better to finish them later with bias tape to avoid a lot of overlapping fabric.)

Isn’t this fabric beautiful? A perfect shade of blue with a slight sheen. It’s a leftover from my Victorian swimsuit, which turned out to be perfect for this project!

Step 5
As it was not proper to display your neck in the Victorian age, cut a long piece of fabric, gather it on one side, and sew it to the back of the bonnet.
On second thought, I perhaps should have put a band or something against the bottom edge instead of hemming it, because the bottom edge has become a bit stiff now, causing the strip of fabric not to drape as smoothly as I would have liked.
Step 6
Decorate!
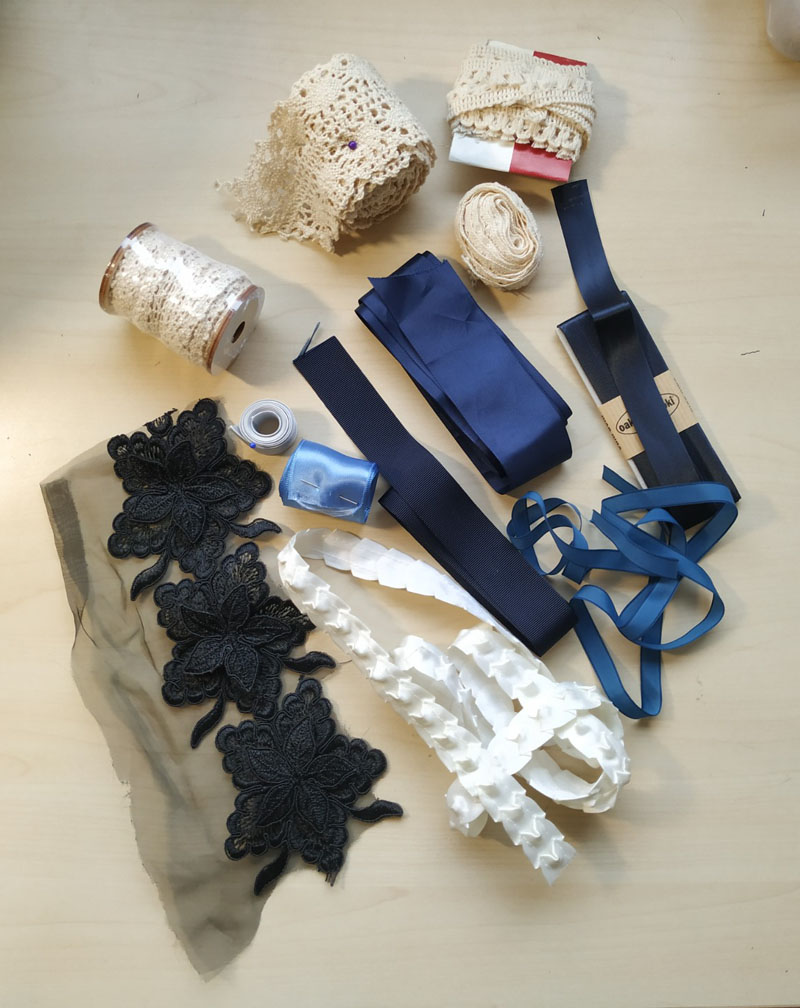
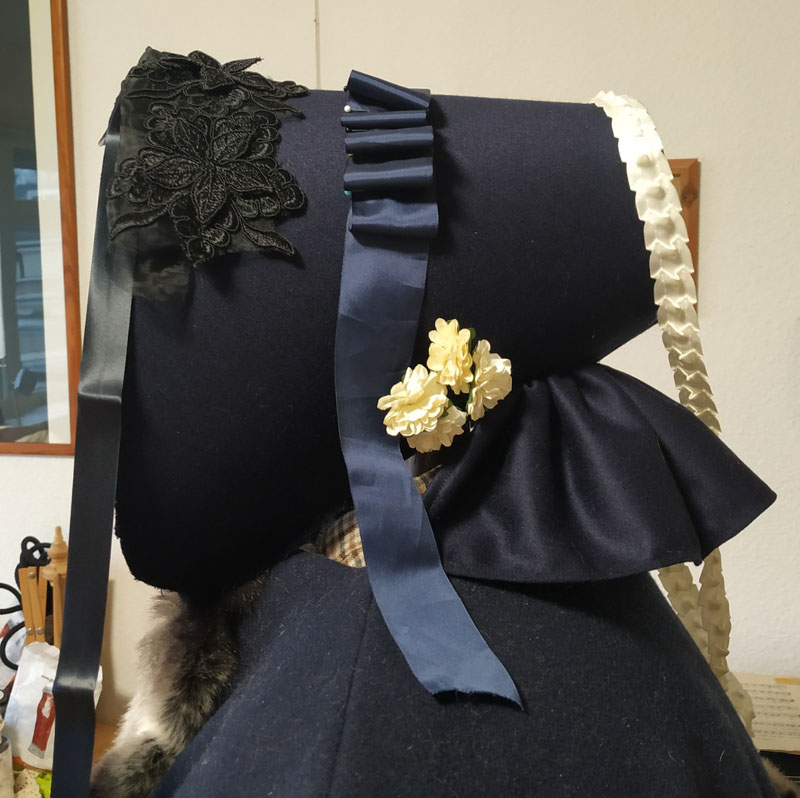
You might not expect it, but this is quite a tricky step! I had various haberdashery items in stock at home, but not enough. So I bought some more decorative stuff at the store, but you only really know what you need when you start working with it. In the store, I mainly looked at what would match my fabric in terms of color, but to determine the final design, I just threw all sorts of things at the base bonnet in different ways to see what looked best.
The rule: you always turn out to have bought too little ribbon, and you also always have all sorts of things left over (but that just goes into the cupboard for the next time I want to improvise something!)
Step 7
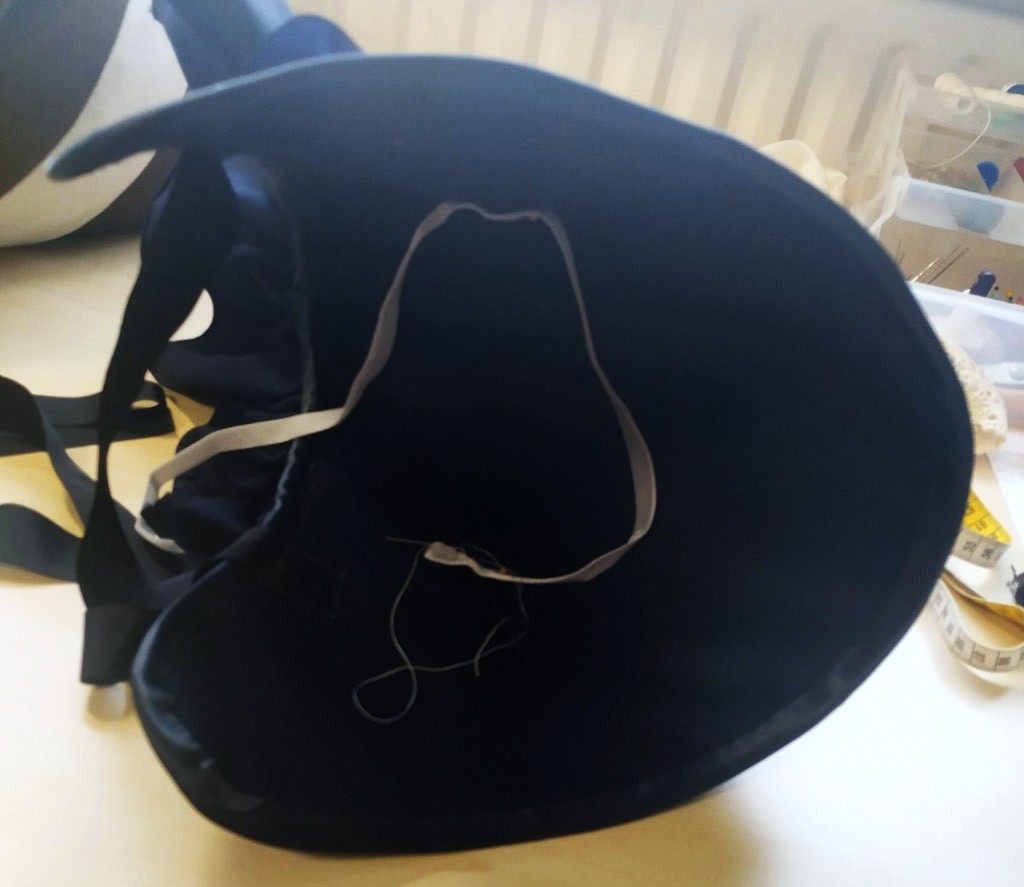
Sew ribbons (I used corduroy) to the inside to tie under your chin, and a strap from left to right just above your ears to prevent the bonnet from slipping down.
Because a bonnet like this has to be very well balanced if it is to stay neatly on your head with only the tied ribbons under your chin. I had made sure it fit well when making the pattern, but as soon as I started stitching things onto it, the balance changed. I could already picture me performing with my band outdoors, getting the wind from the front, and the bonnet (read: windcatcher) being continuously blown backwards. Not fun.
Apparently, they used to solve this issue in the past by sewing a sort of headband-like construction inside, or inserting a velvet band that holds it in place somewhat due to the friction against your head. Furthermore, the more you stuff the front with junk, the more it helps to keep everything in place.
Step 8
Decorate the inside.
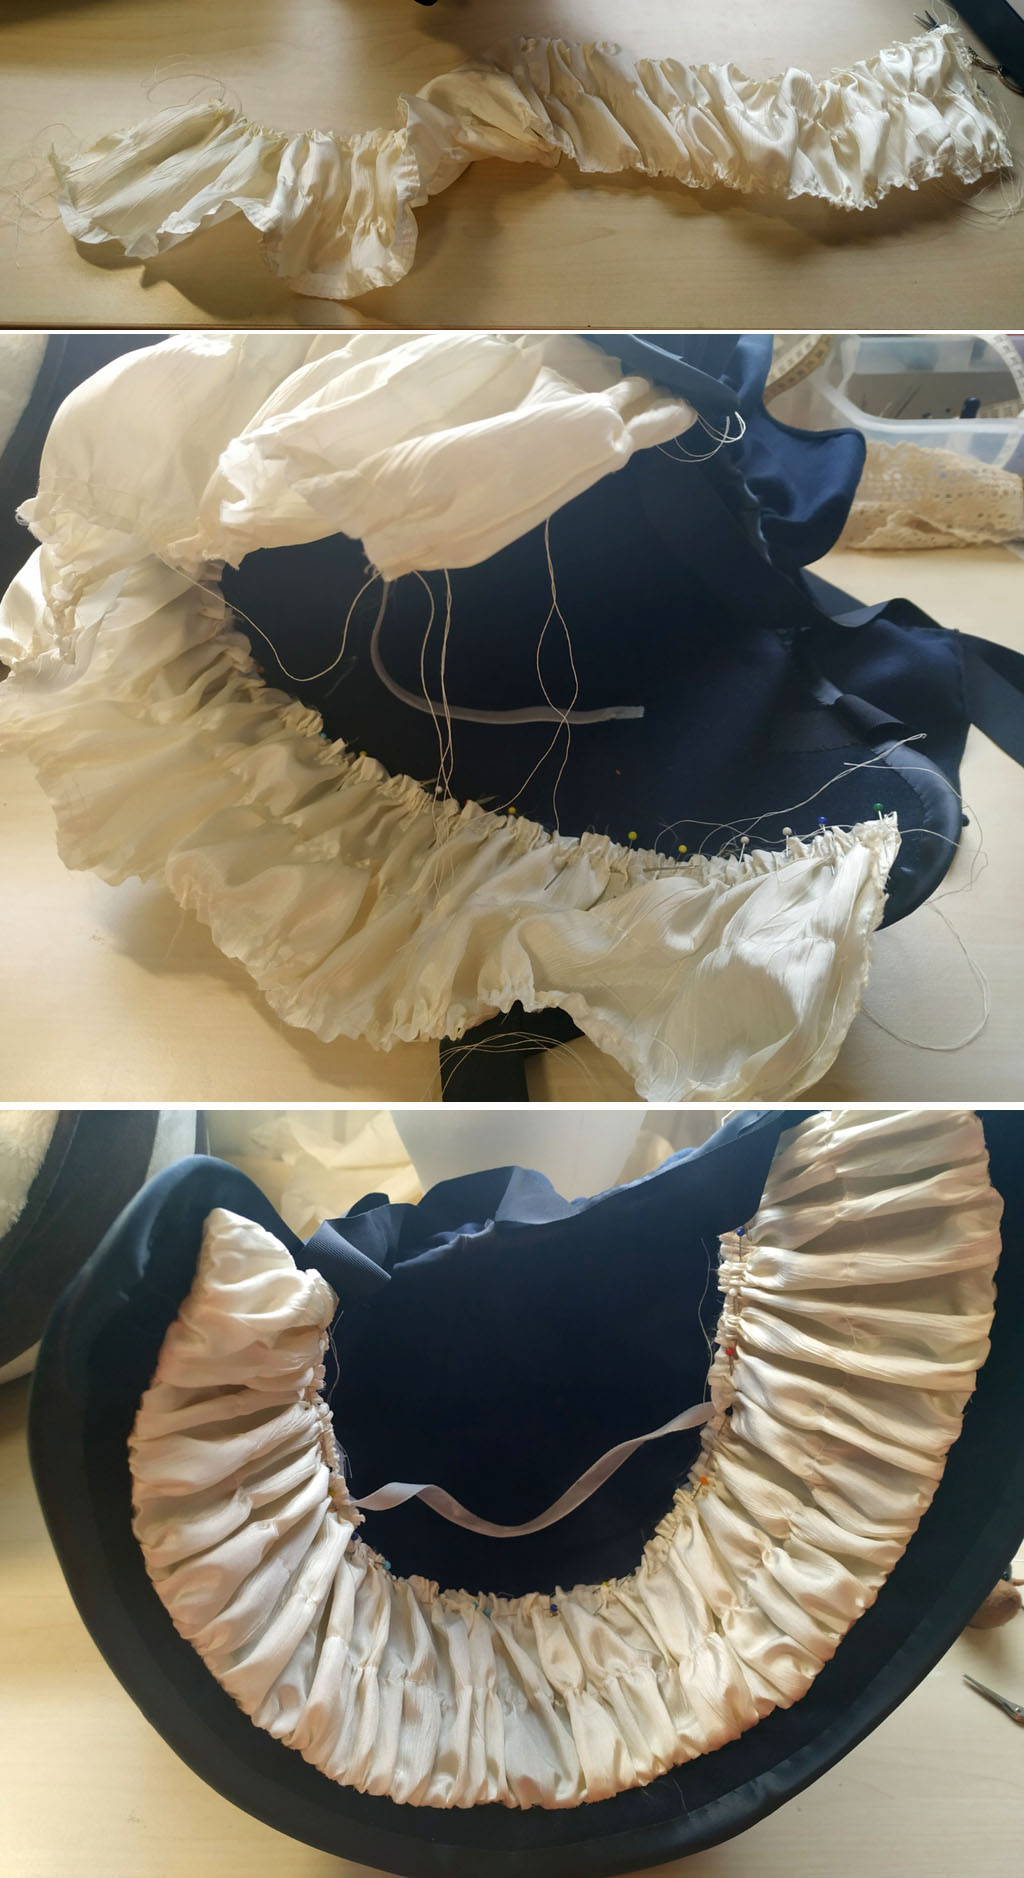
You can incorporate all sorts of things into the opening, such as flowers or lace, but I opted to gather a perfectly matching silk-look crepe scrap that I found in my closet. (I am regularly amazed at what I find in there. What I ever used this fabric for? No idea!)
The original plan was to sew this piece of fabric onto the velvet trim so that it became one piece, but that didn’t work out as I had envisioned, so I just stitched the back to the inside of the bonnet as well. (Note to self: cut a longer strip next time; this one turned out just a bit too short.)
Step 9
Admire the final result!
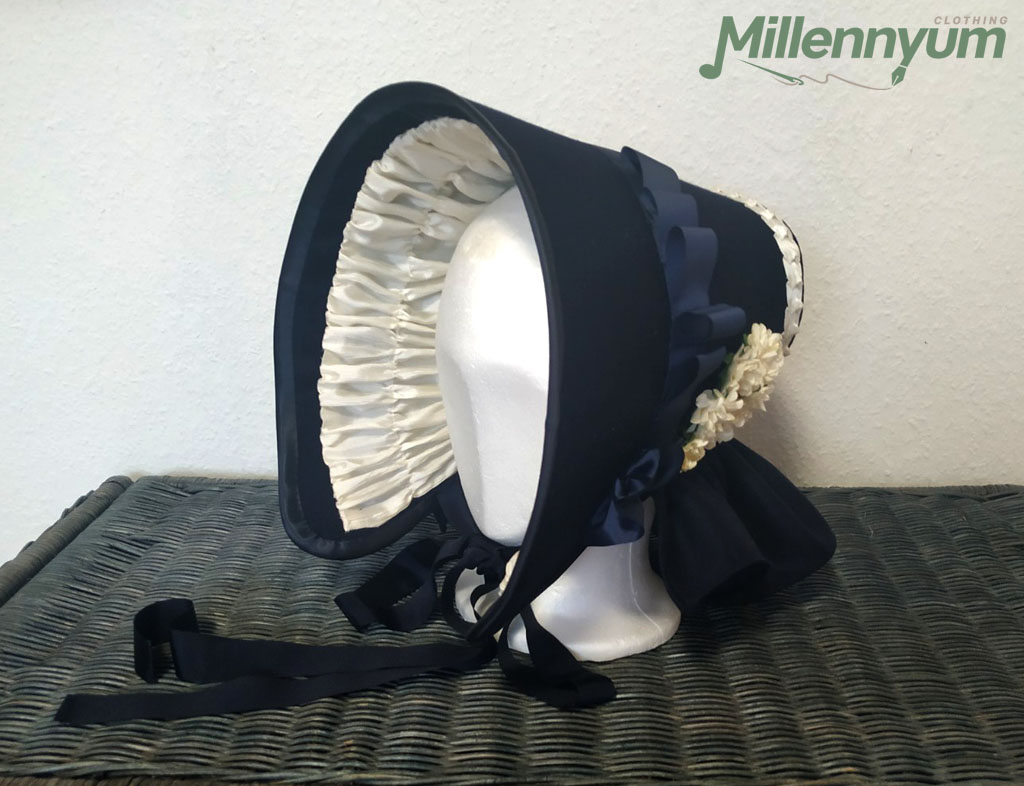

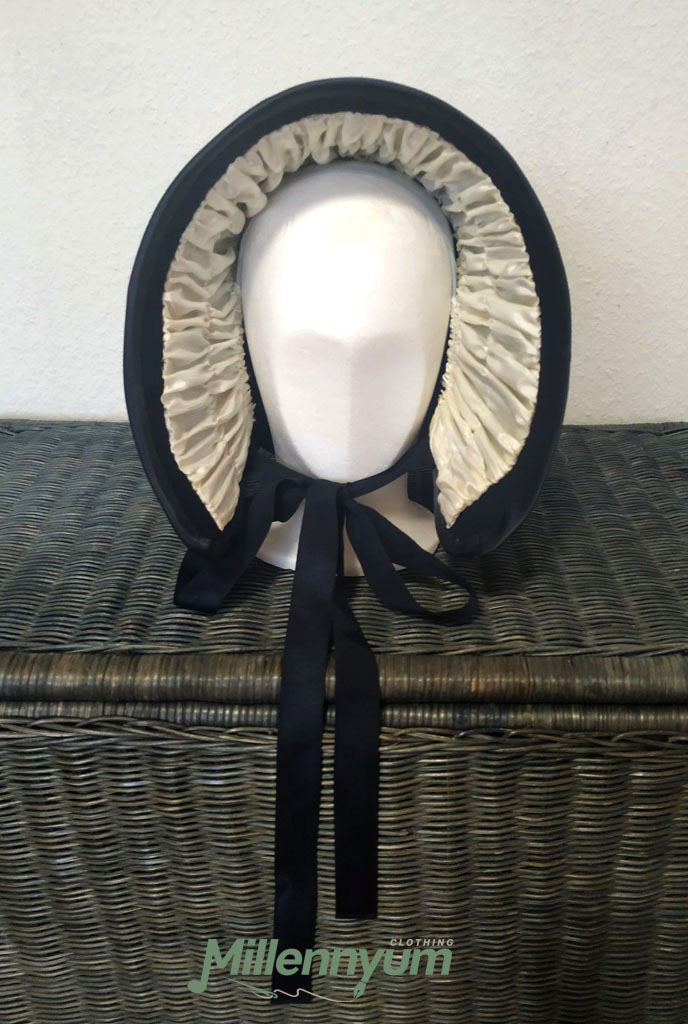


Just like the real thing, right? 😊
Time spent: 22,5 hours (including drafting the pattern)
Costs: €40 (approx. €20 for the not-really-buckram and millinery wire, approx. €20 for the decorations. I already had the fabrics in my stock.)
This bonnet took way too much time considering the time I actually had to get everything finished, but I didn’t want to compromise on the level of detail. Moreover, I had to stitch just about everything by hand – my sewing machine was hardly used to make this hat, because that obviously doesn’t work with this shape and this material.
But I am happy with the end result! Now I just hope it works well in practice with the rest of the outfit and keeps my head nice and warm (and doesn’t get in the way of my drone pipes, block the sound too much, or cause too much tunnel vision so that I can’t see or hear my bandmates anymore… 🙈 ).
Related Posts